Setting up Docker on Windows ARM64
Fabio Di Peri
1633 Words
2022-12-24 23:00 +0100
Given the recent push for Windows on ARM64 for developers, with the release of
Project Volterra Windows Dev Kit 2023, one weird missing component was
Docker Desktop.
Kind of annoying, but at the end of the day it’s not the only way to have Docker working on a machine, even on other platforms, and this is what we’ll talk about today, with a mostly-step-by-step guide on how to set everything up.
And speaking of other platform, even if this article is mostly aimed at ARM64, most of this applies to regular x64 Windows too if you just want to avoid Docker Desktops’s license requirements.
Word of warning first though: the end result will not be 1:1 equivalent to what Docker Desktop gets you. No easy-to-use UI, everything will be CLI-based and mostly important it will not be possible to mount directories from the Windows filesystem as volumes. Both are minor annoyances (and irrelevant to me personally), but something to note about the volume limitation is that this one is really a non-issue, since performance would be abysmal anyway.
But that’s enough introduction, let’s get to the important stuff.
The general idea
In short, what we’ll be doing is to install and run Docker Engine inside a WSL distro and then use a feature called Docker Contexts to expose the engine to the Windows side via HTTPS, so that Windows tools can use it too (like Visual Studio Code’s Remote Development feature).
Prerequisites
WSL 2. That’s it. And git.
More specifically, at least version 1.0 which is only distributed via the Microsoft Store and which is compatible with either Windows 10 or 11.
That means that if you’ve installed the old non-Store version, you’ll need to switch to the Store release.
As the Store version is now the default, you can either install it via
this store link or by just running wsl --install.
(By the way, if you haven’t installed Windows Terminal or PowerShell 7 it’s a good time to do so and set them as default).
Of course we’ll also need a Linux distribution to run Docker into. You can pick whatever you prefer, but since Ubuntu 22.04 is my distro of choice, this is what I will use for the rest of the article, and the only one I’ve tested so far.
Keep in mind though, the only distro that Docker officially supports on arm64 are CentOS, Debian, Fedora and Ubuntu.
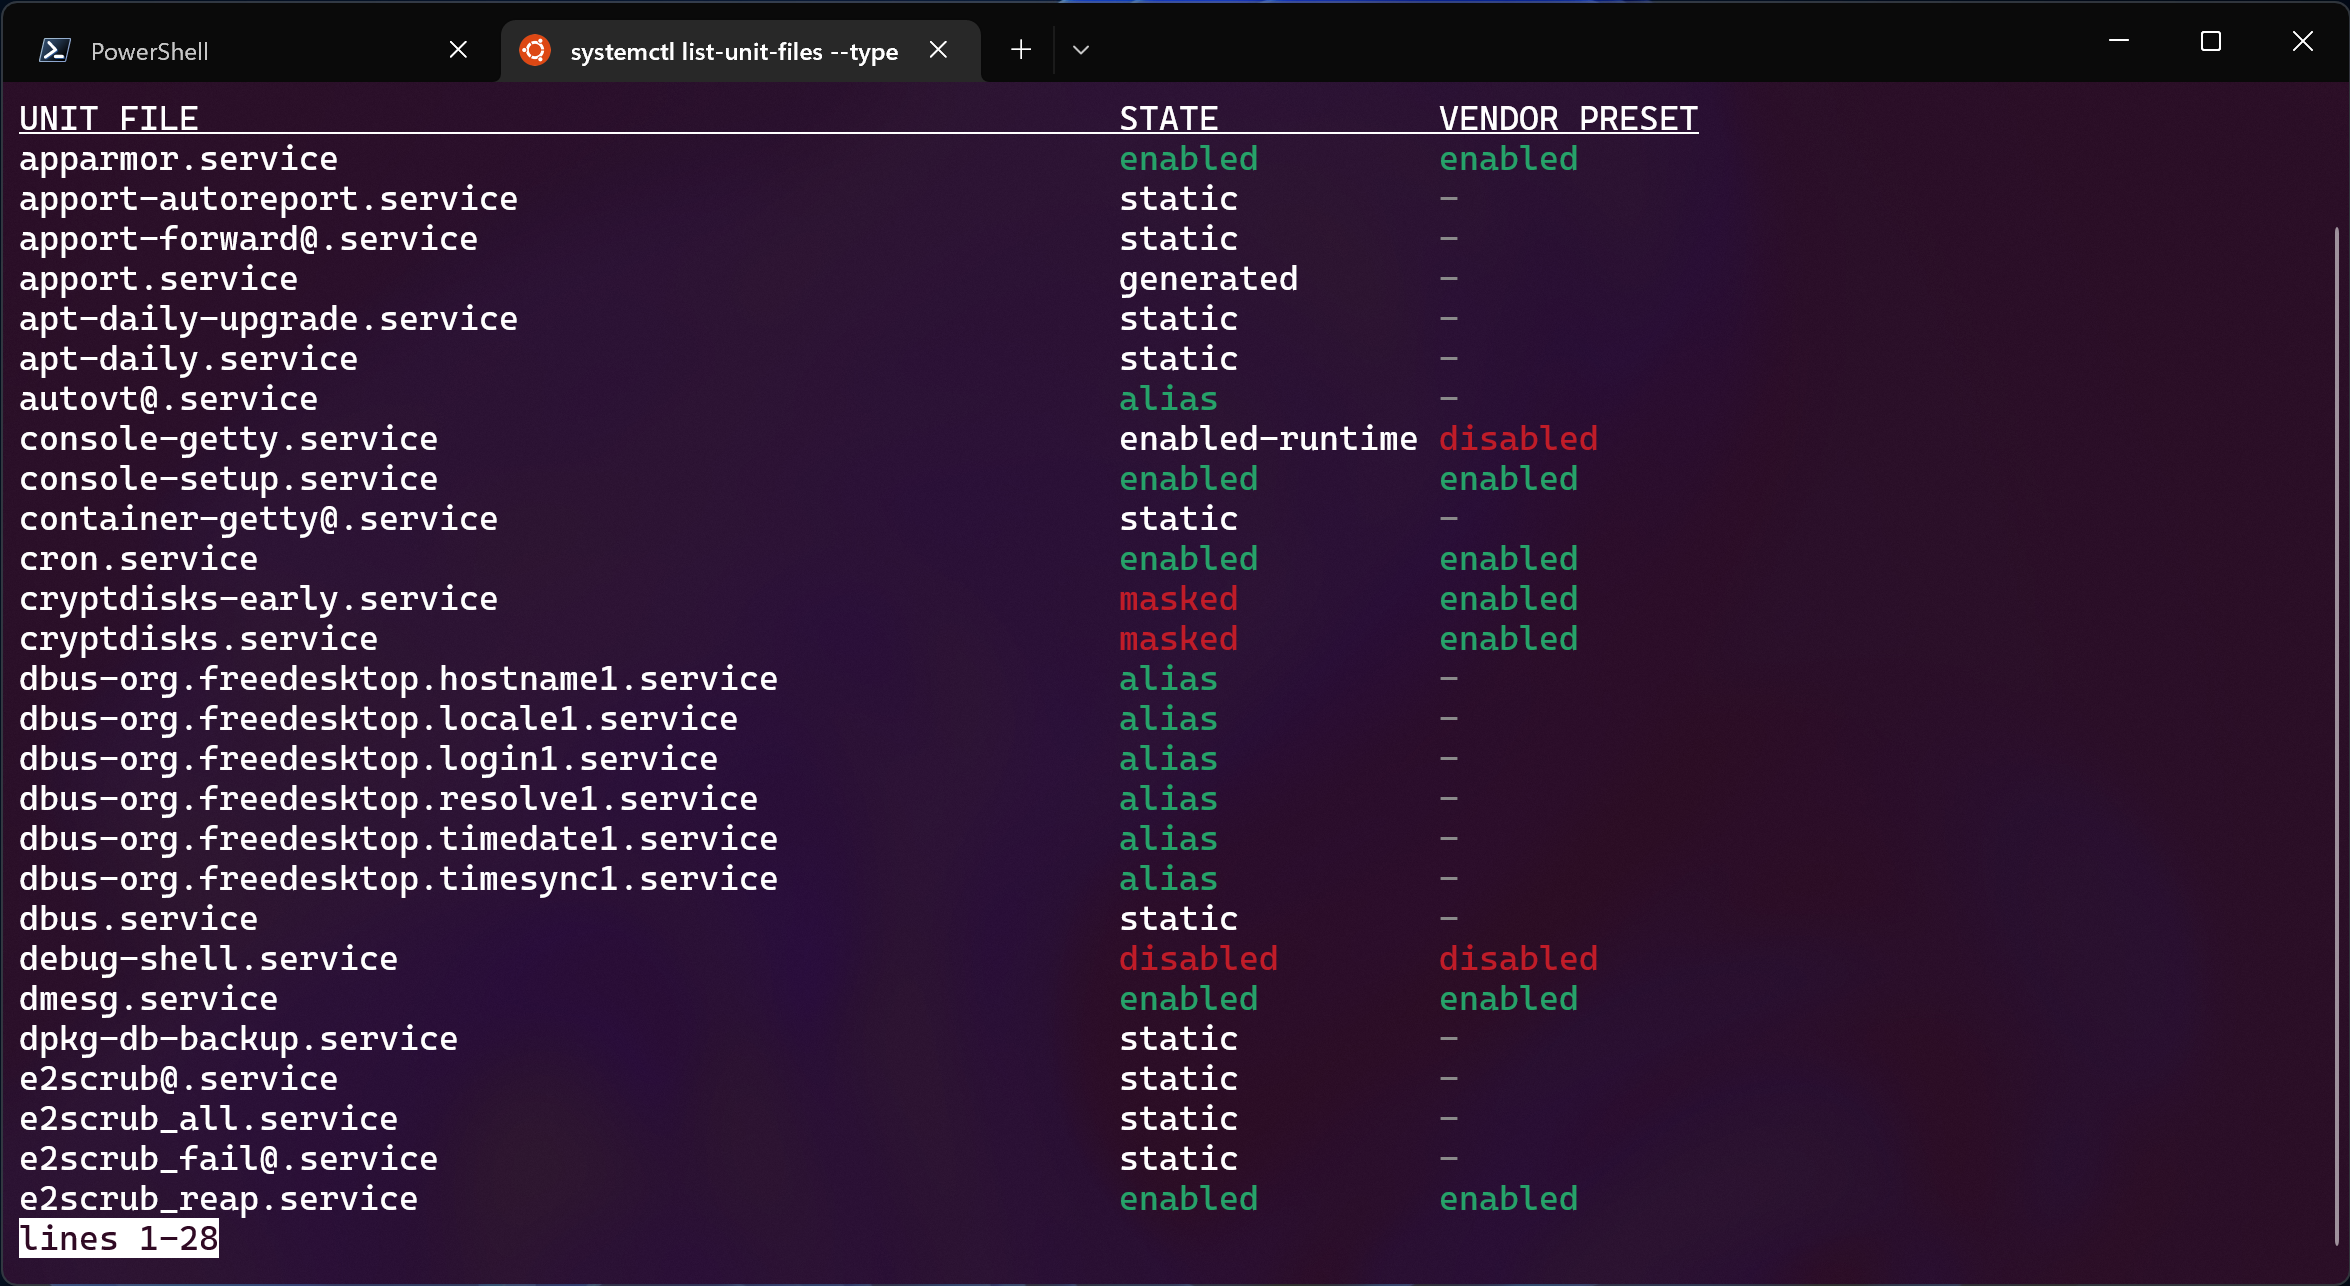
Enabling systemd
After setting up the distro and configuring it to your liking, it’s time to make a choice: whether to enable systemd or not.
In my case I chose to do so for convenience, but it’s not mandatory.
You will just need to manually start dockerd before using Docker.
This step is extremely easy: from WSL, just edit the /etc/wsl.conf file by
adding these two lines:
[boot]
systemd=true
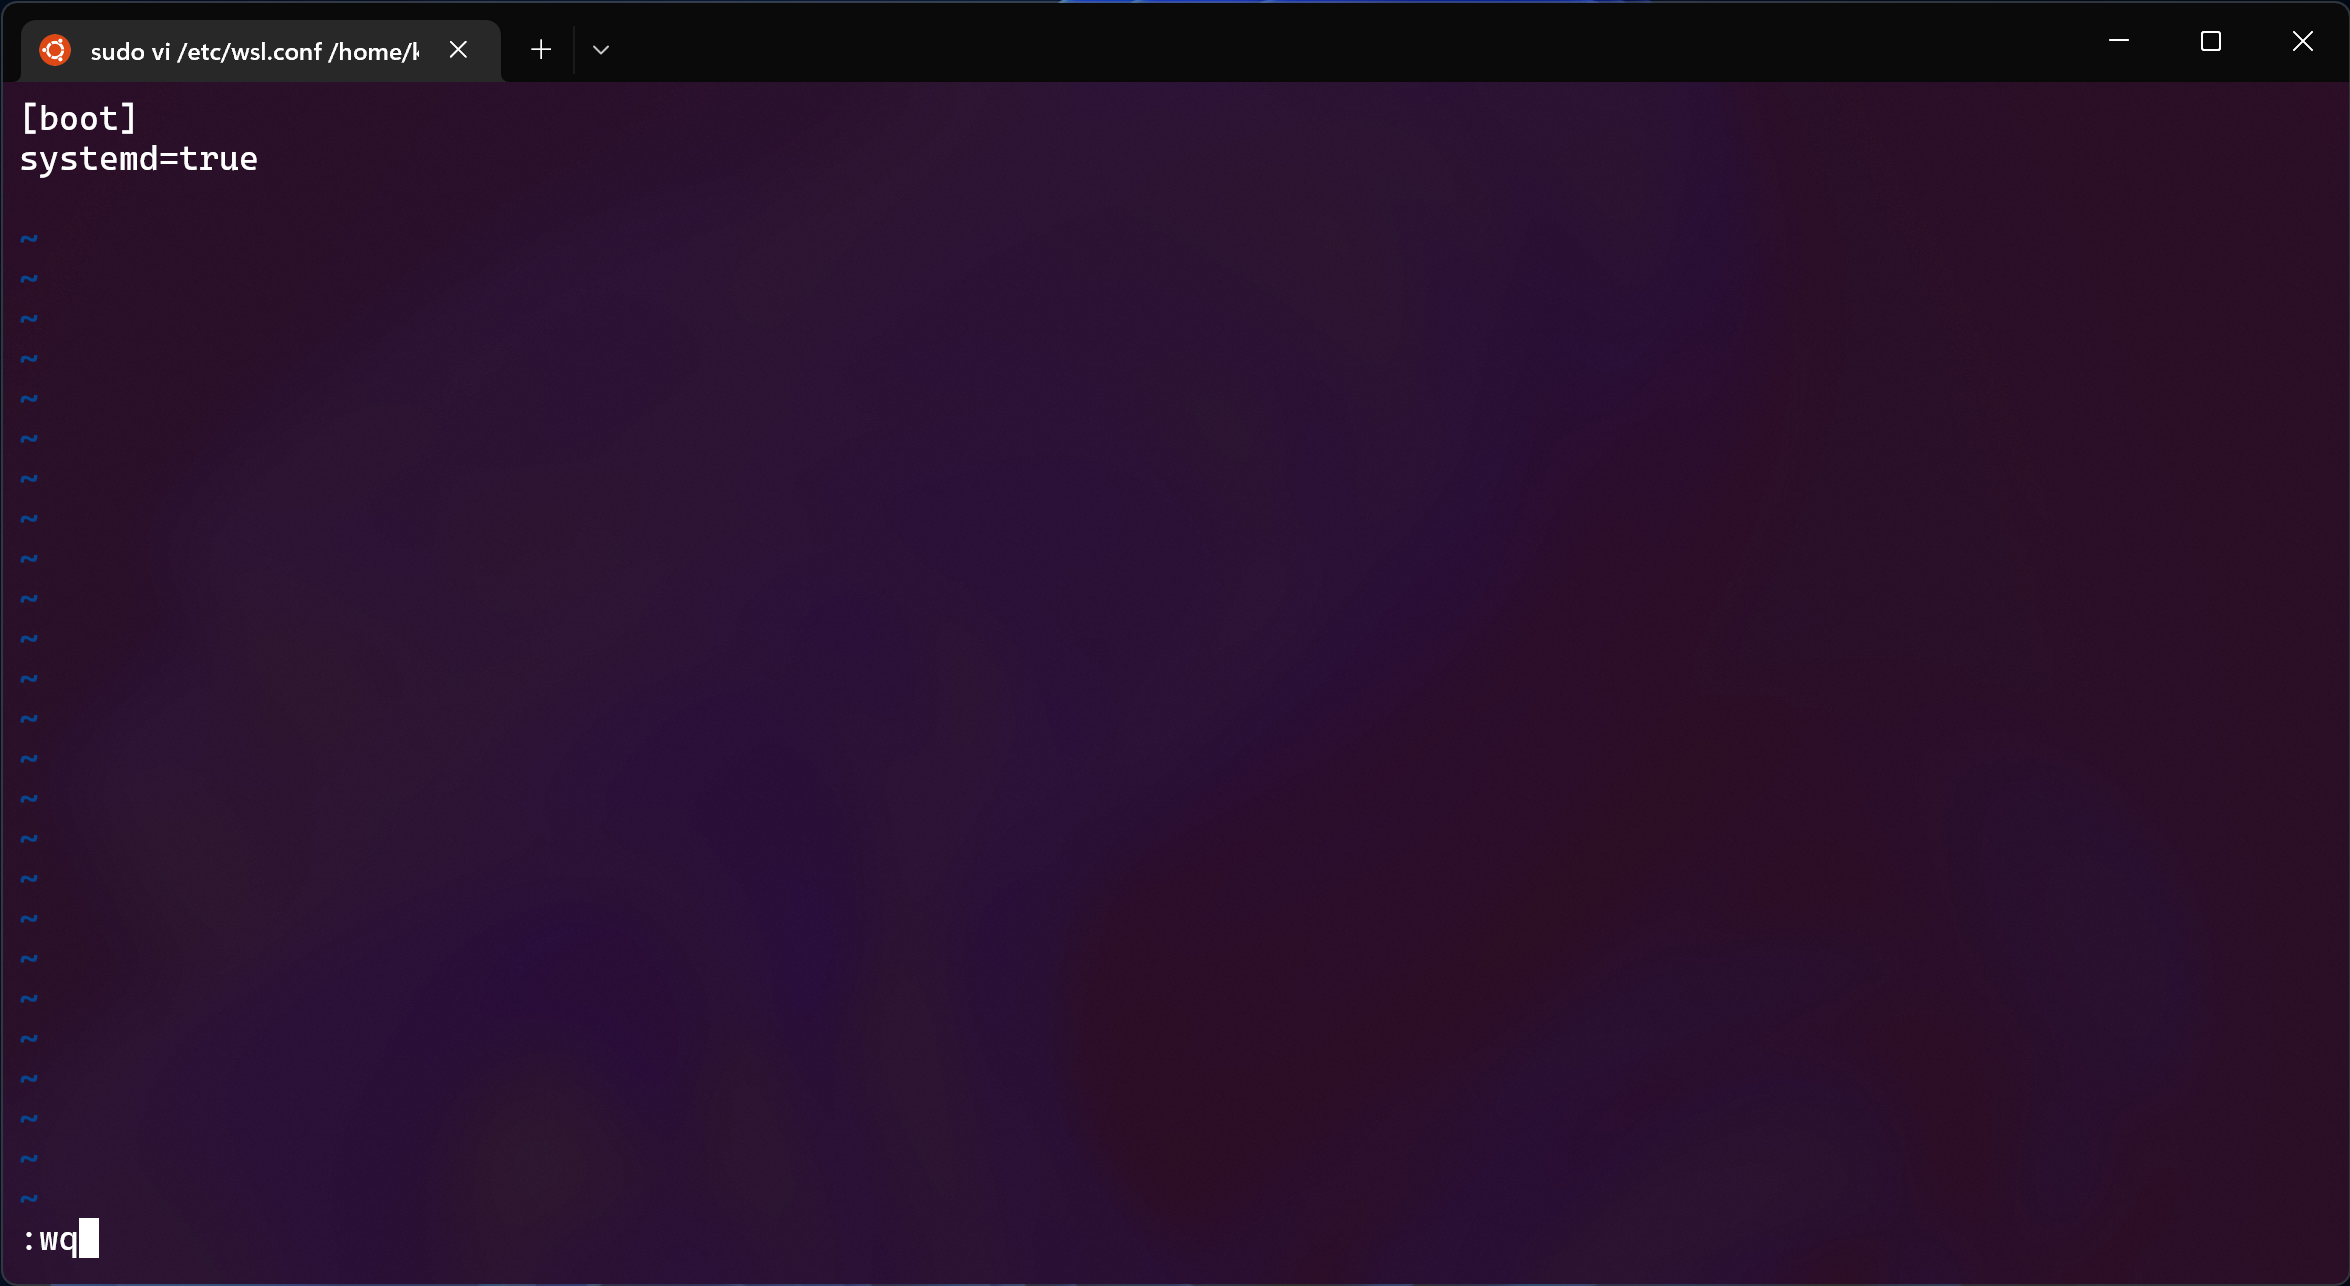
Save, quit your Linux distro, switch back to PowerShell, shut WSL down
running wsl --shutdown and re-launch your distro.
This next boot will take slightly longer, but now commands like systemctl will
work:
Installing Docker Engine
Now it’s time to actually install the engine. For this step you can refer to the official documentation for the most appropriate steps for your distro of choice.
Since I’m extremely lazy, I’ll just use the official install script by
committing the cardinal sin of using curl | sh.
curl -sSL get.docker.com | sh
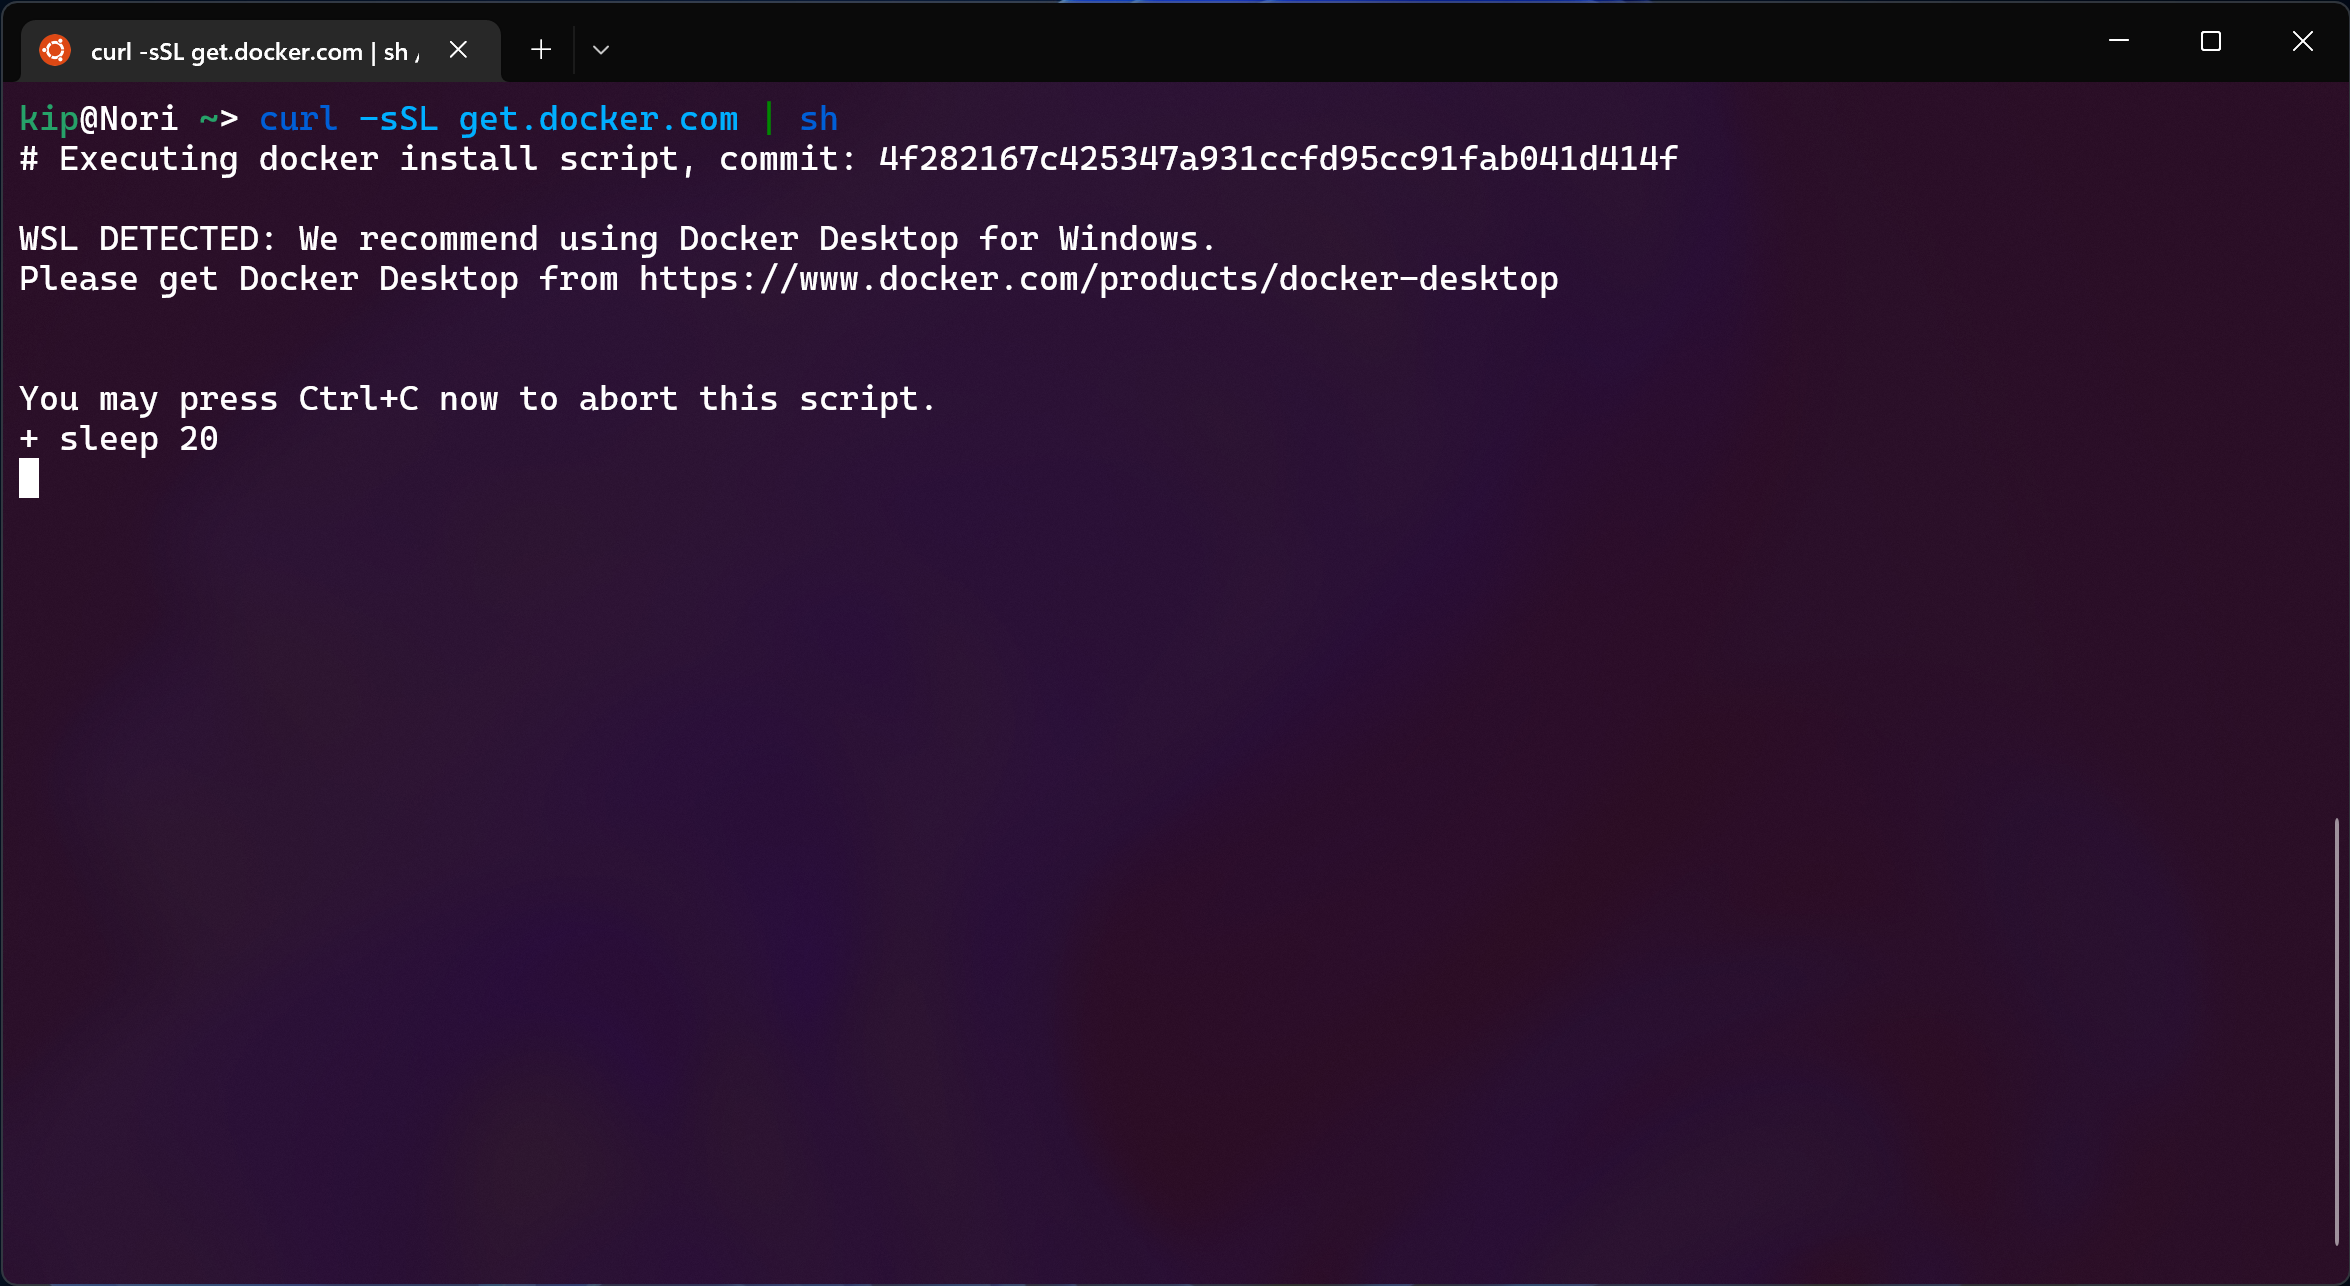
No, the irony of the install script recommending Docker Desktop is not lost on me.
Don’t forget to add your user to the docker group
(sudo usermod -aG docker $(whoami))
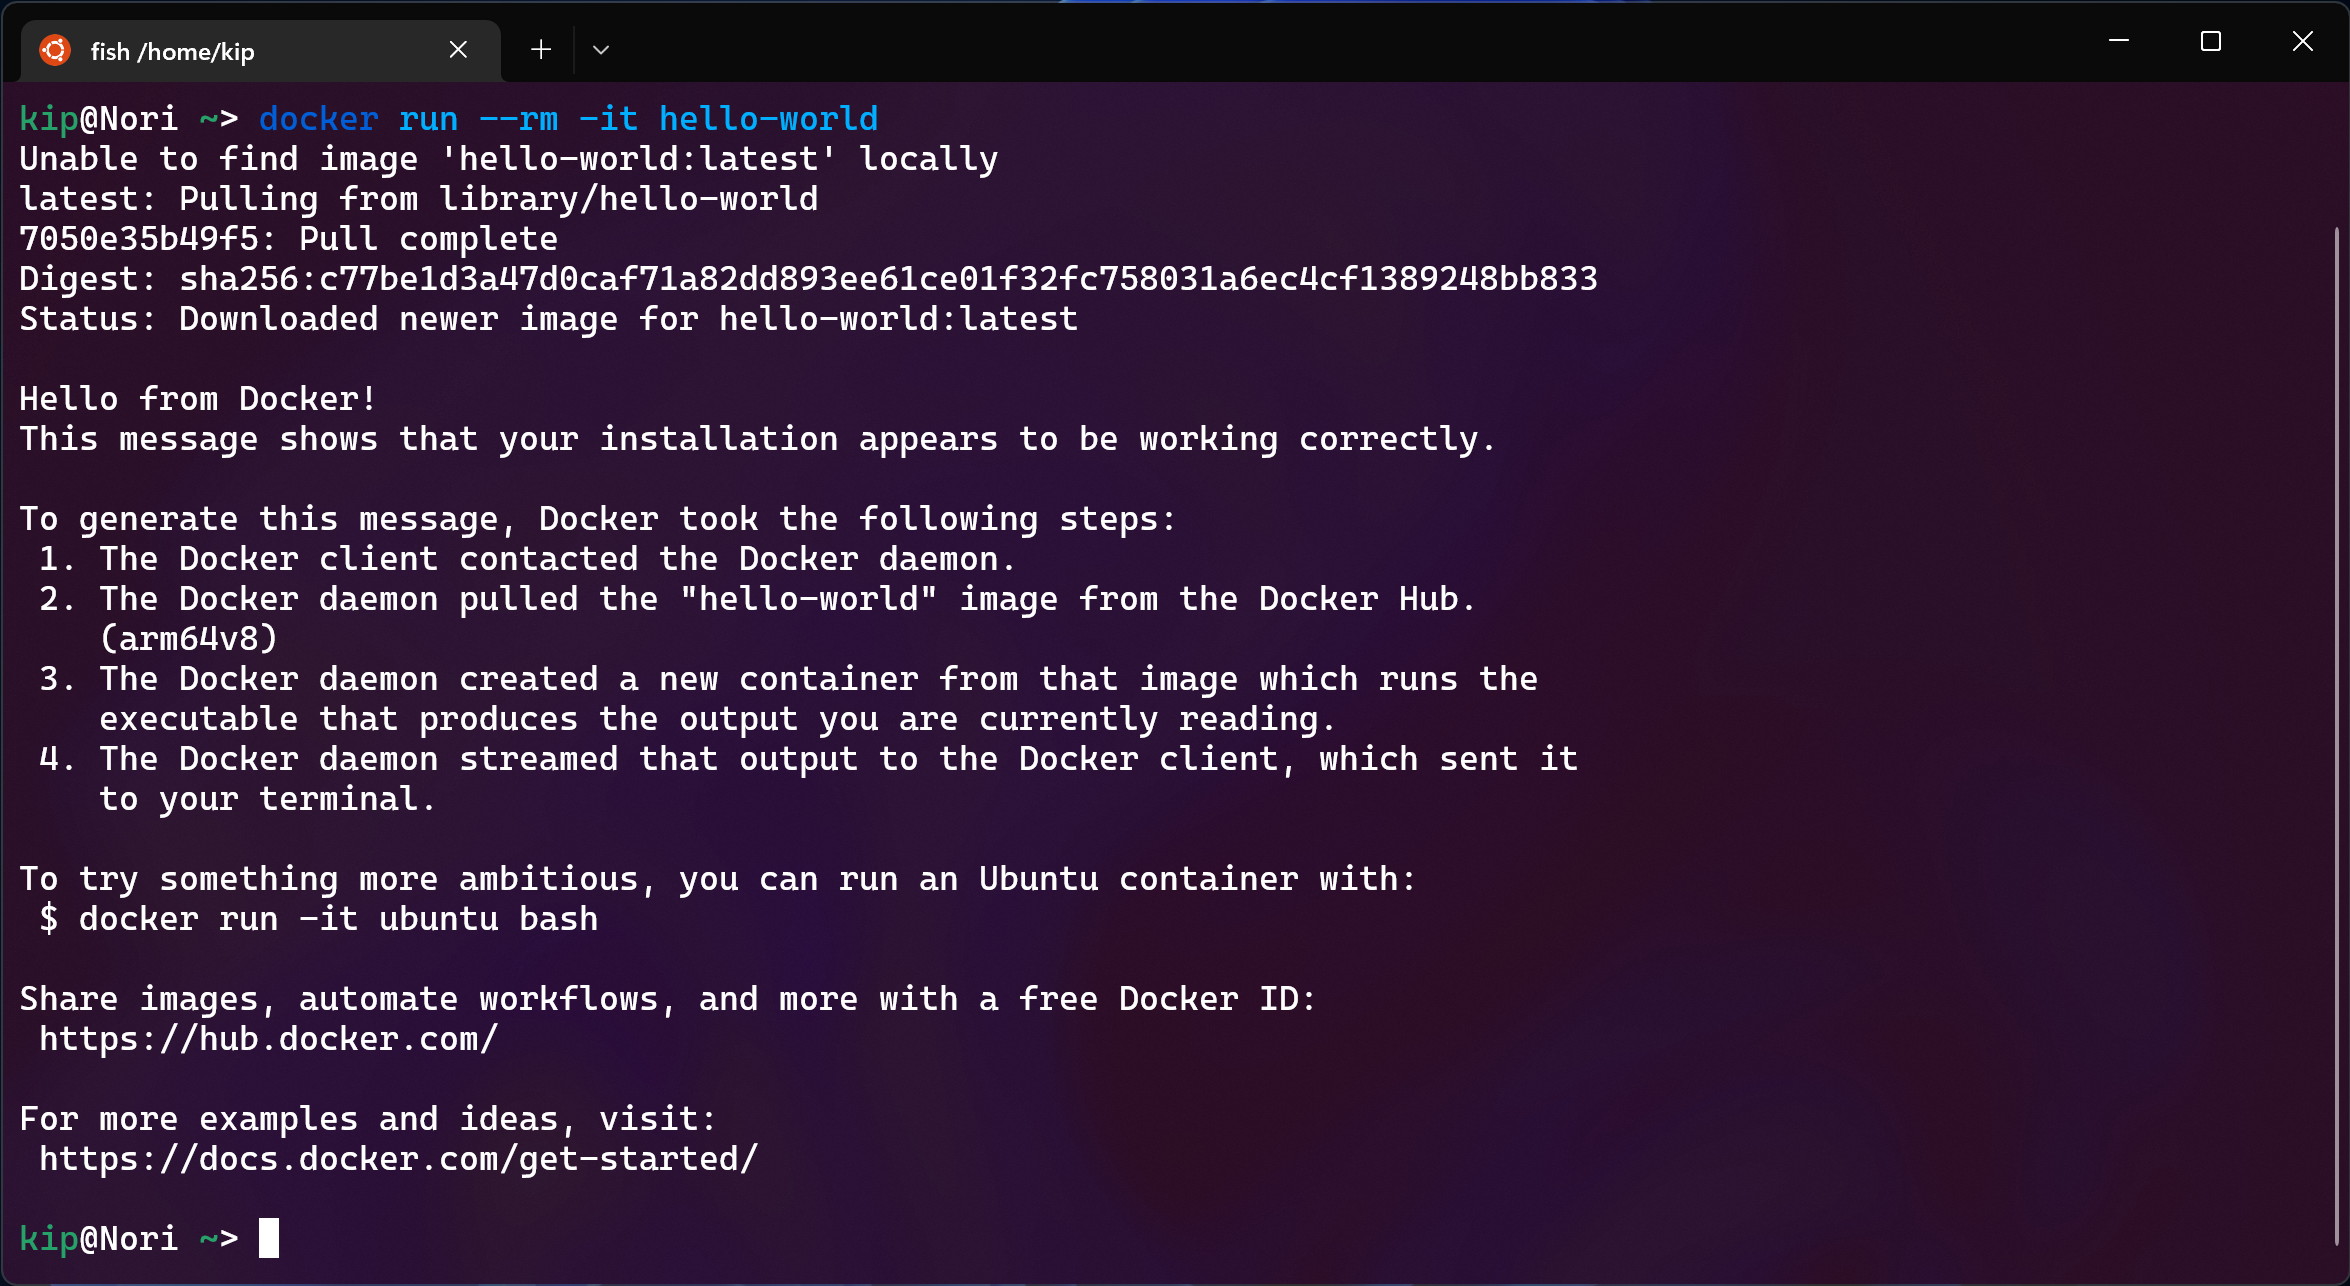
Great, now we can run Docker locally inside WSL!
Building Windows tools
To use Docker from Windows we’ll need two tools: the Docker CLI itself and docker-compose.
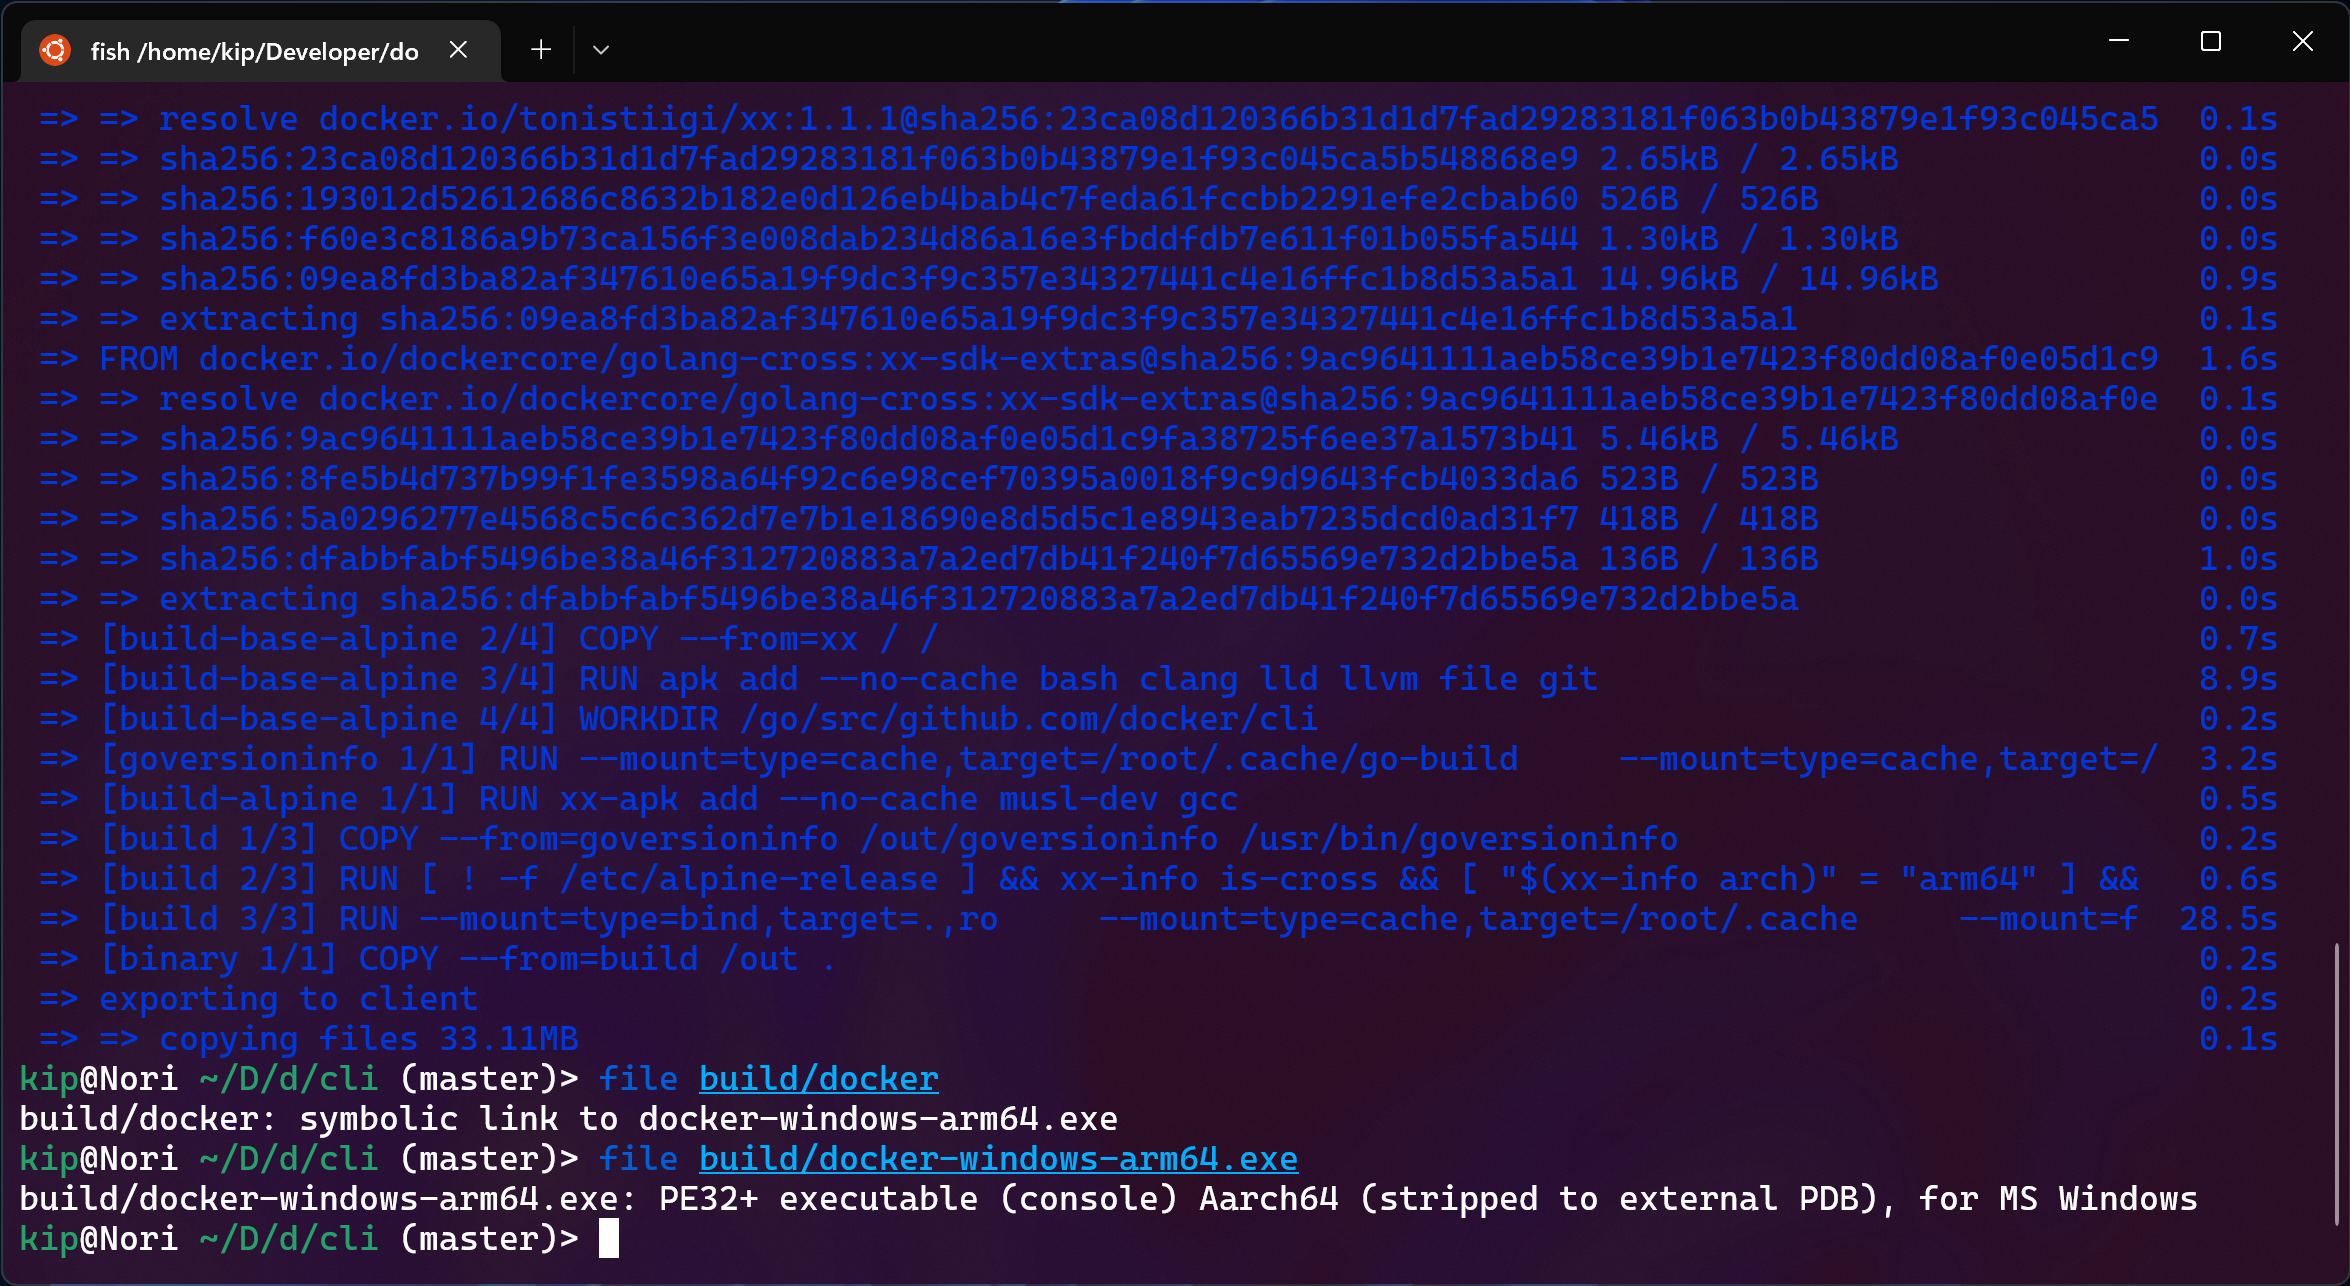
The easiest way to get to get the CLI for windows/arm64 is to just build it locally, using Docker itself, reducing the dependencies required to zero.
Just clone the repo, cd into it and run one single command:
docker buildx bake --set binary.platform=windows/arm64
(of course, replace arm64 with amd64 if you’re on a regular x64 machine).
The build will take a couple minutes at maximum and leave a .exe in the build
directory
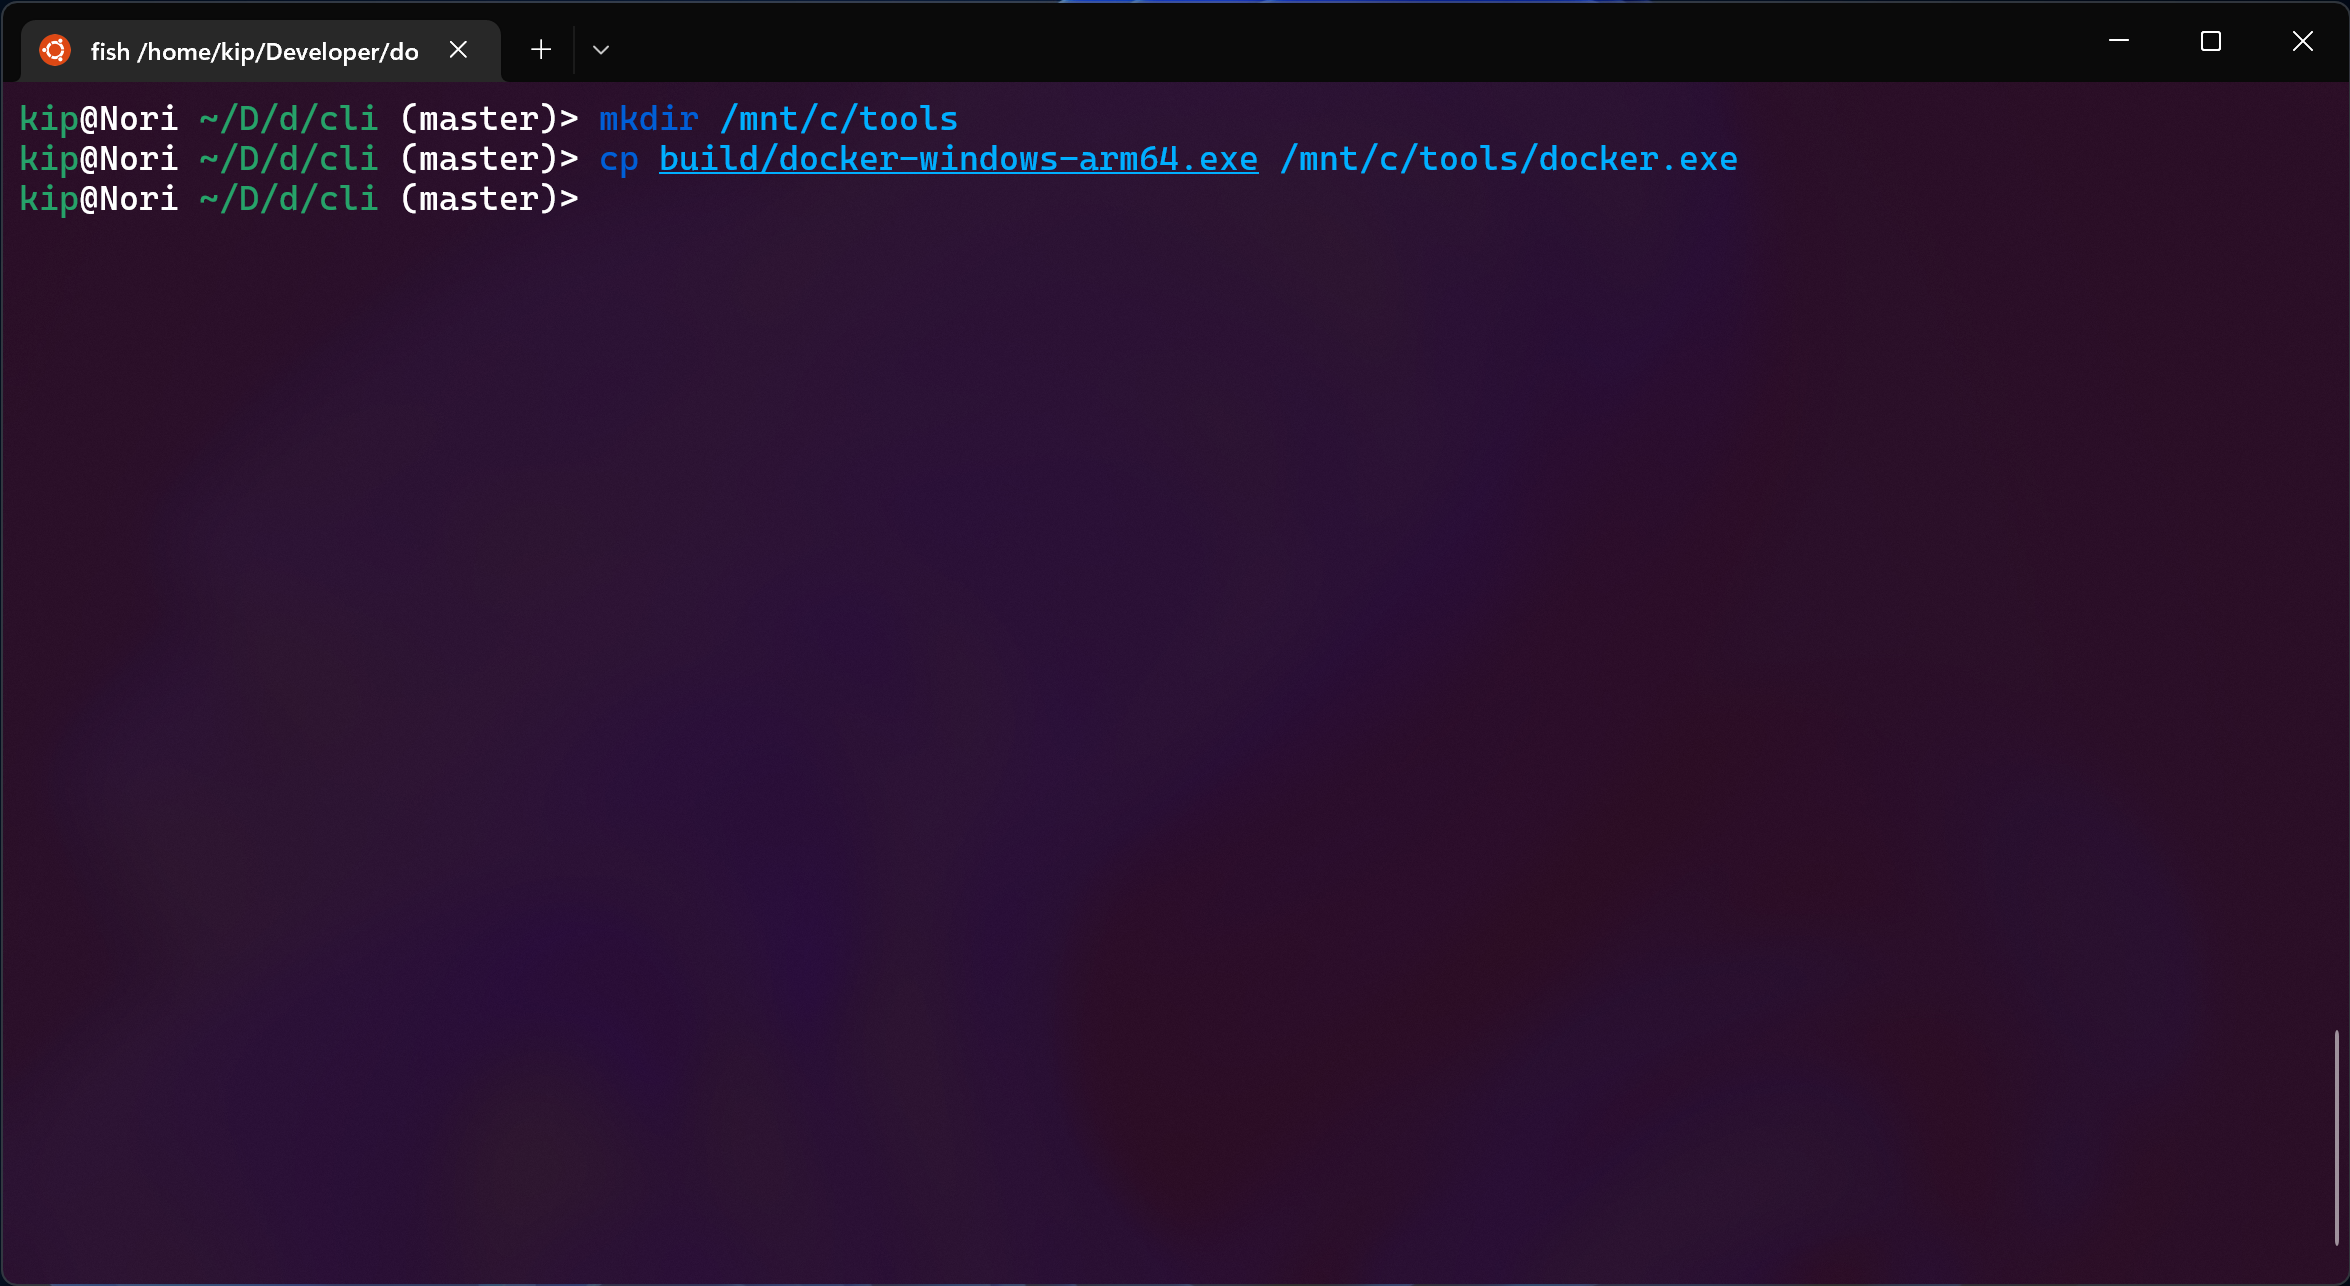
We’ll need to move this binary somewhere accessible to Windows. What I like to
do is to create a “tools” directory somewhere in C:\ and just add this folder
to PATH. In this way, I can just drop any random tool I need there, as if it
was /usr/local/bin or similar in any Linux distro.
Fortunately, we can access the Windows filesystem from inside WSL:
Then we can just use the System Properties dialog to edit the PATH with the new folder
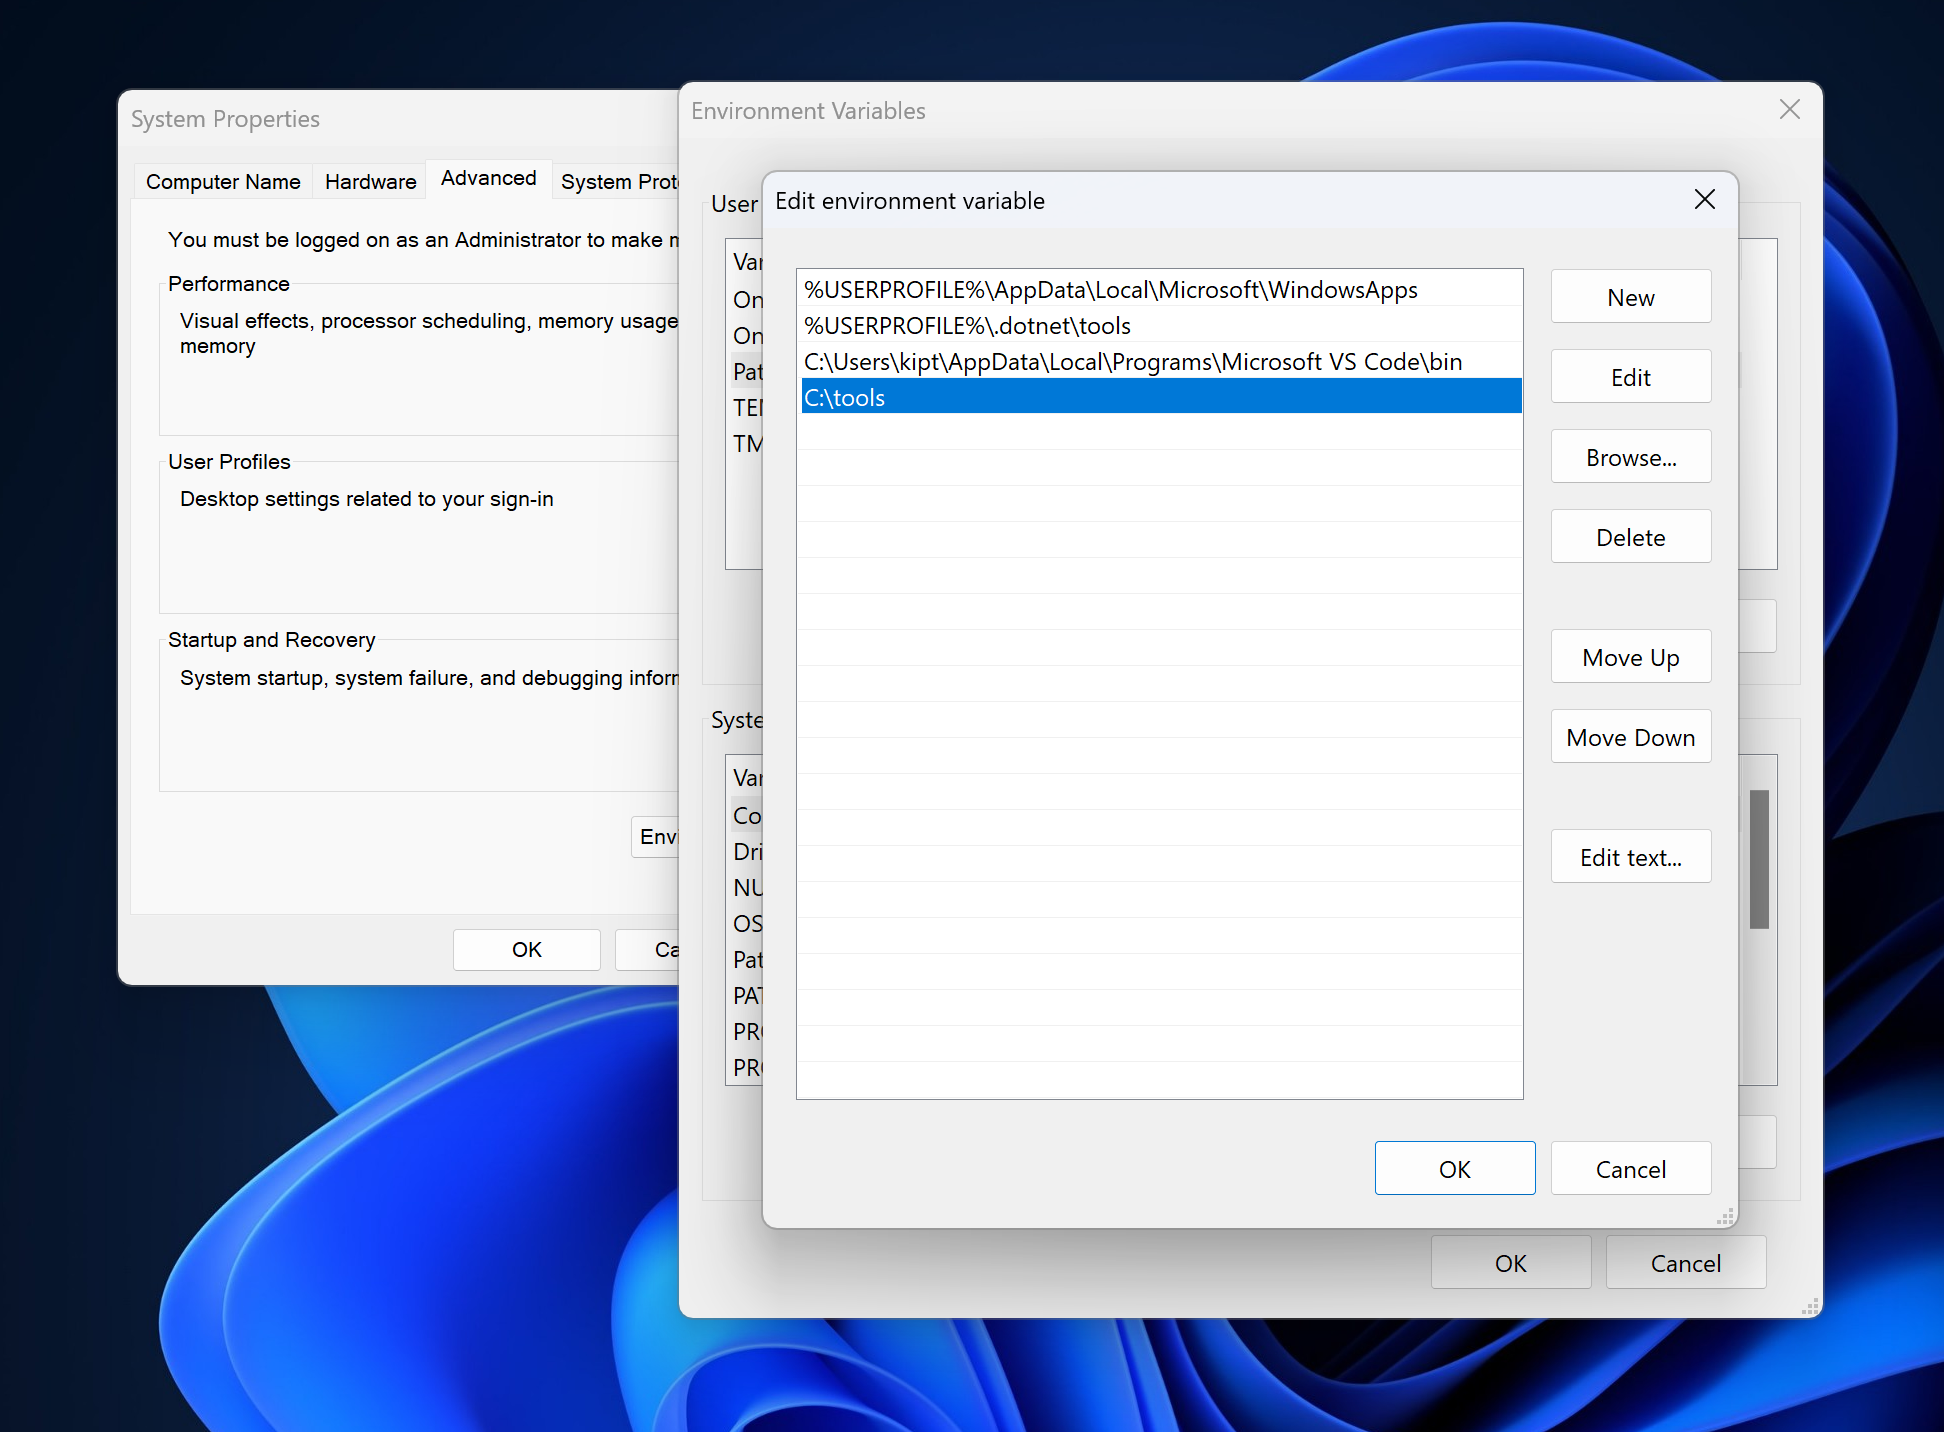
Don’t forget to fully close Terminal and reopen it for the changes to apply.
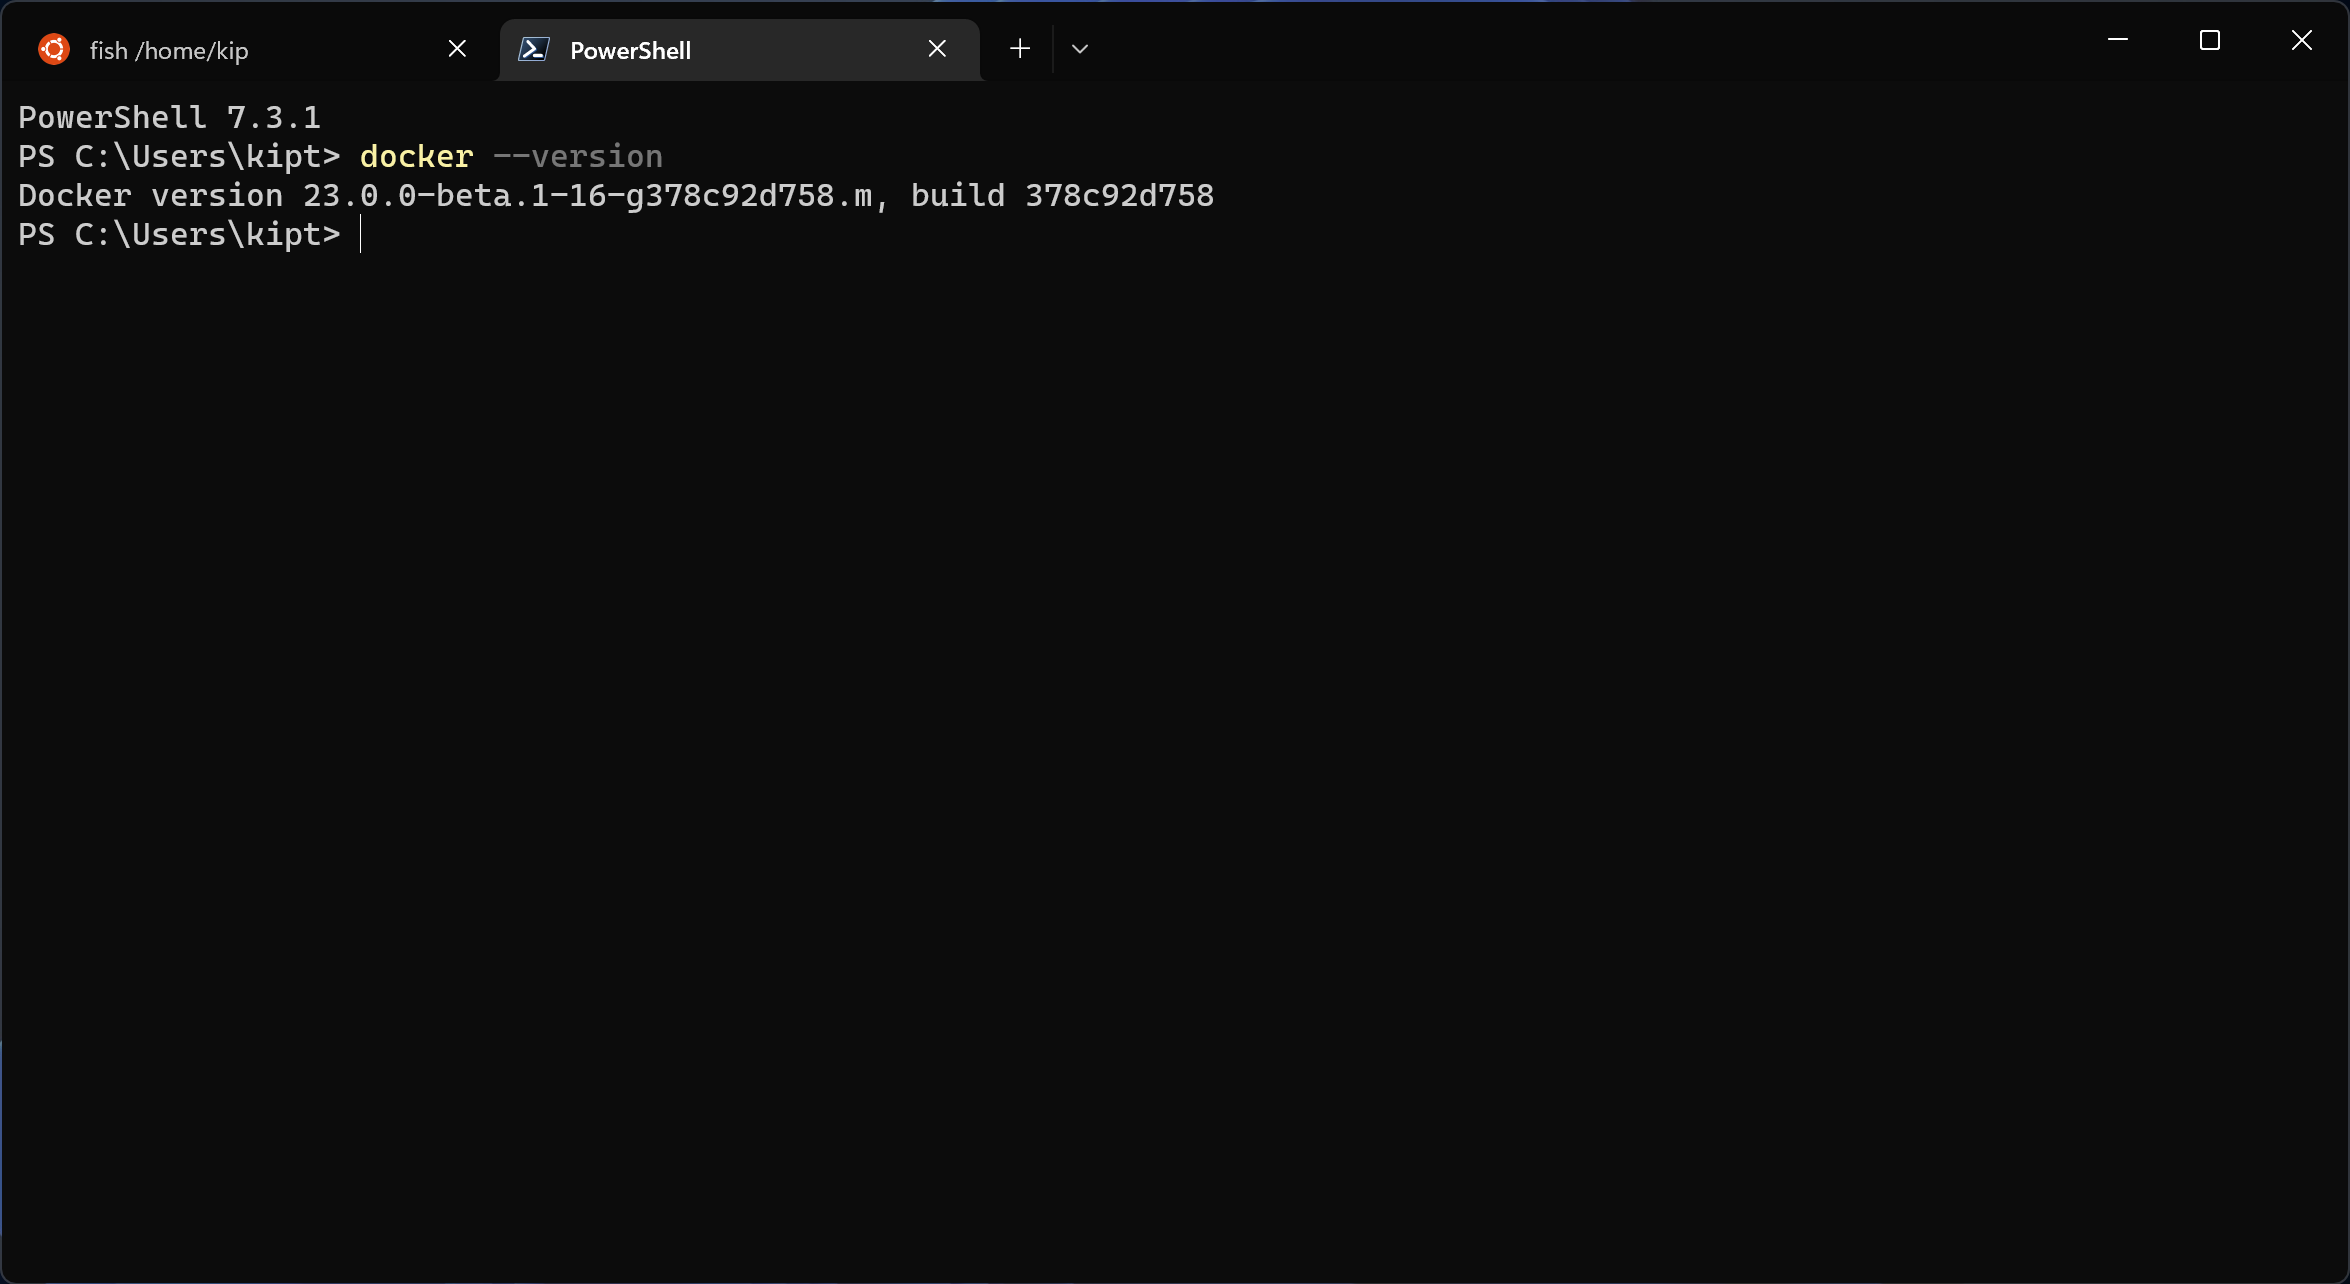
Now that the CLI is in our PATH we can start configuring it to connect over to the engine running in WSL.
A word about security
At this point we could just setup the engine to expose its API over HTTP in addition to the usual UNIX socket, configure the Windows side and be done with it. It would already work.
Enabling HTTP as-is though will mean that everyone on the network will be able to call the engine running in our distro, and unless you’ve enabled rootless docker that would imply giving everyone on your network root access to your WSL distro, and by extension give them the ability to run any arbitrary piece of code on the Windows side, by abusing the interop feature.
Not even binding to localhost only is safe, as that would give root access to any malicious script running in your browser!
Sounds like a bad idea? It is. Big time.
This is why in the next step we’ll deal with this aspect of the setup, with TLS certificates. We’ll create a local Certification Authority, and then use this CA to create two certificates: one for the engine (so that the CLI can authenticate it) and another client certificate for the CLI itself.
Then we’ll configure the engine to only accept connections from clients using credentials signed by our CA, making the entire setup as secure as possible.
(If you’re wondering why we need HTTP at all, contrary to WSL 1 AF_UNIX
sockets are not supported on WSL2, which gives us no other choice.)
Generating all certificates
This part will be based upon the official Docker docs.
We’ll use openssl, which should be already installed (at least, it is on
Ubuntu 22.04 I’m using).
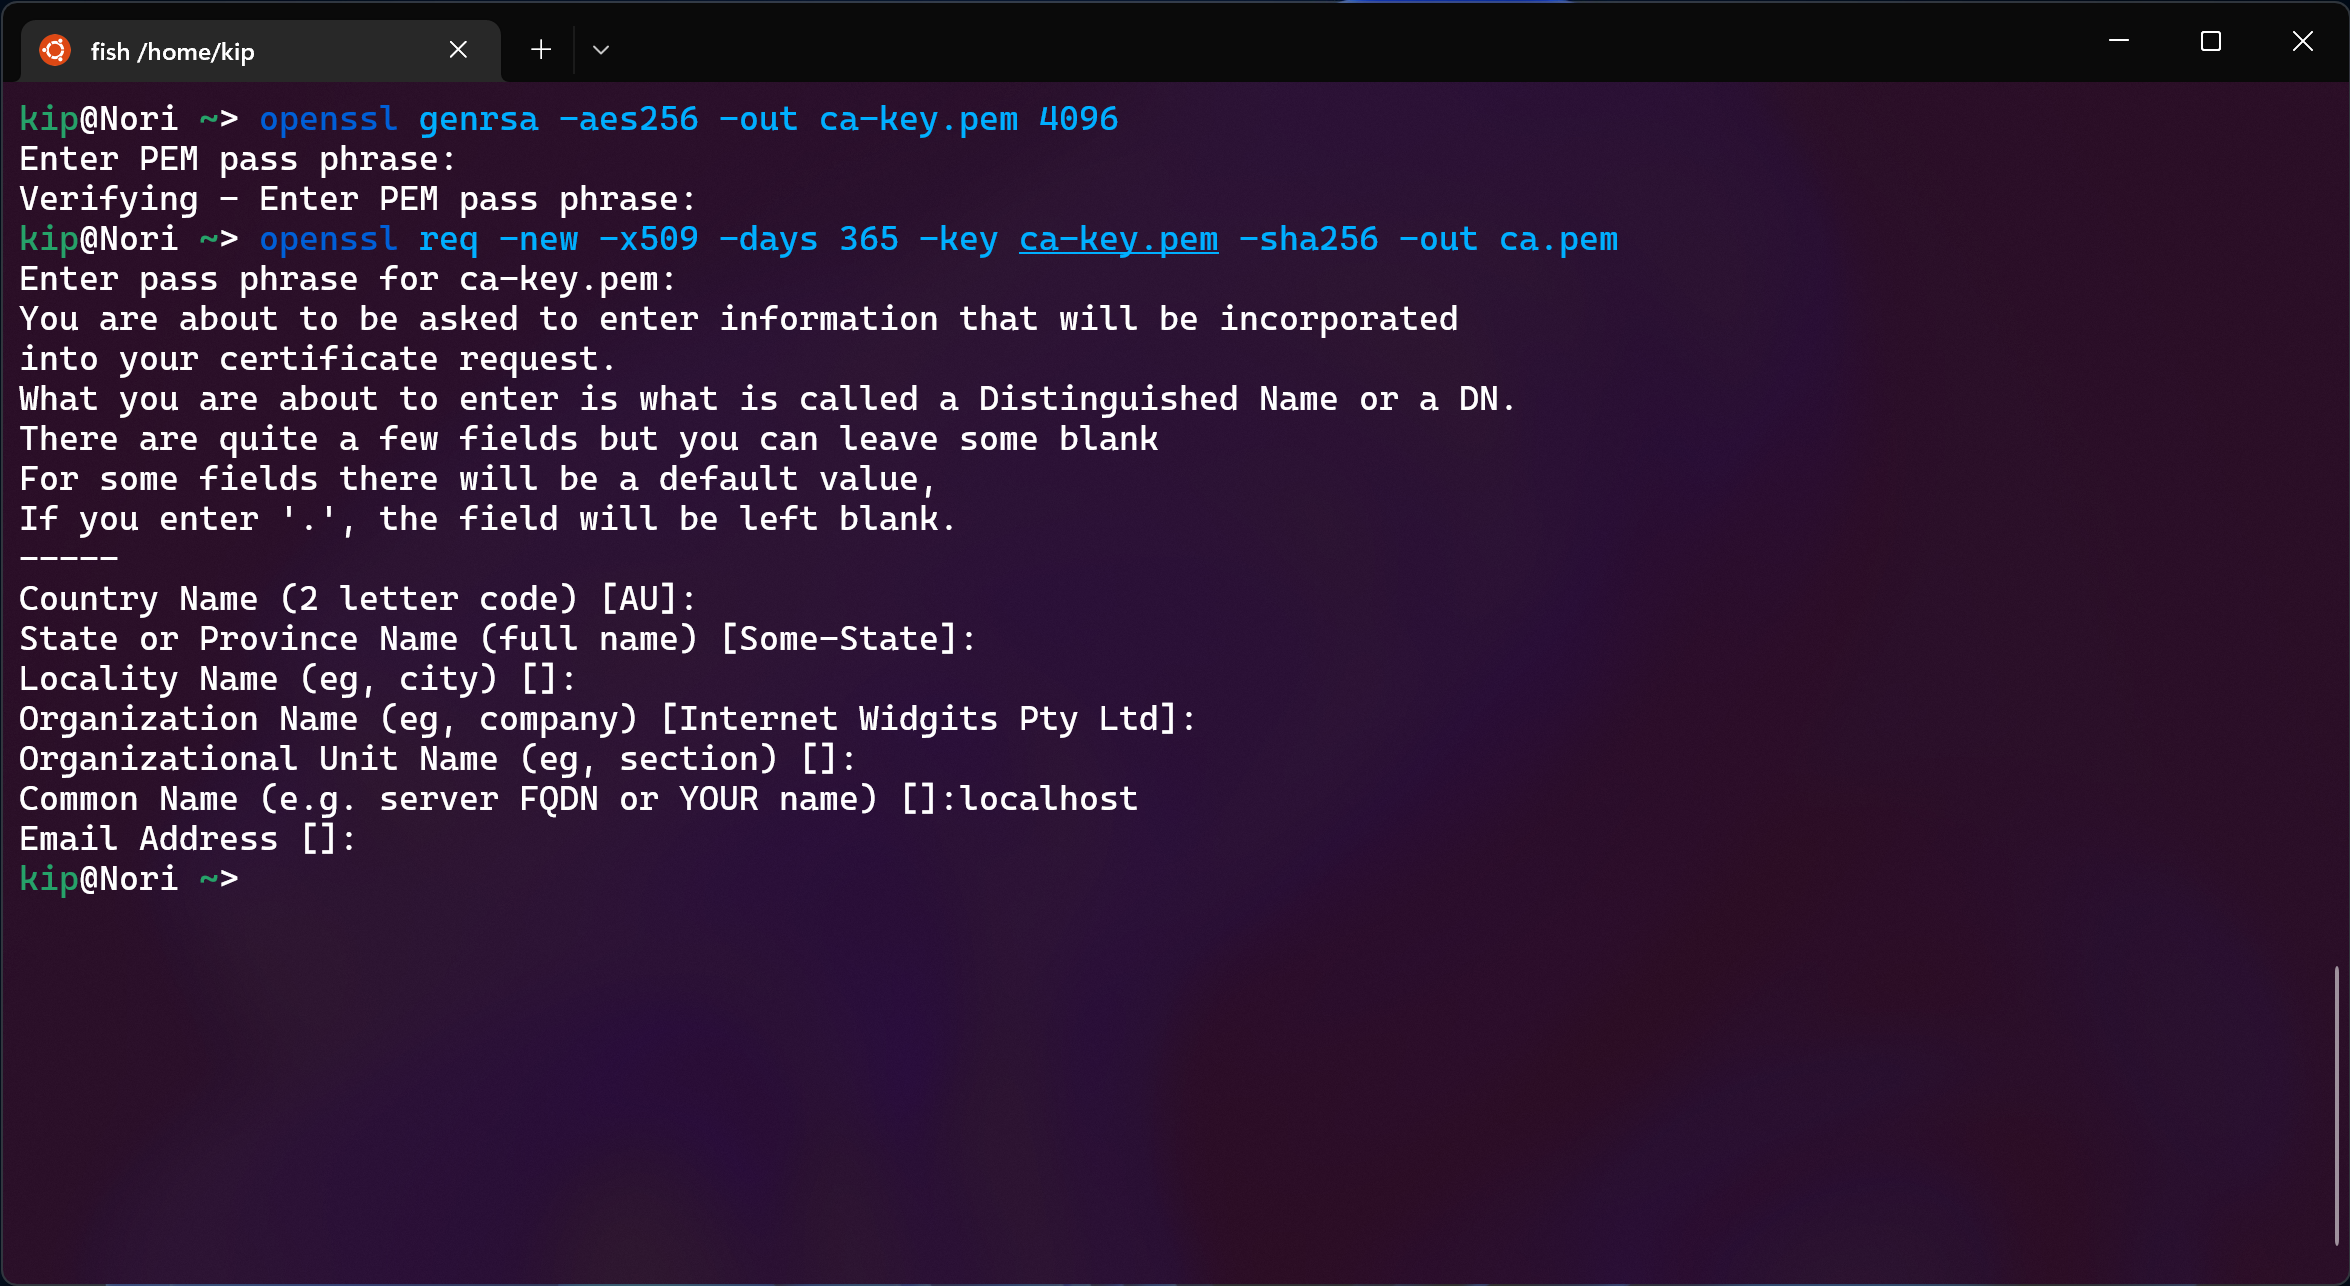
The CA
First step is generating the CA key:
openssl genrsa -aes256 -out ca-key.pem 4096
and then its certificate
openssl req -new -x509 -days 365 -key ca-key.pem -sha256 -out ca.pem
All fields are optional, but make sure to use localhost as FQDN.
The Server
Now that we have a CA, we can generate a key for our server (the Docker daemon)
openssl genrsa -out server-key.pem 4096
And then a Certificate Signing Request
openssl req -subj "/CN=localhost" -sha256 -new -key server-key.pem -out server.csr
A CSR is basically us asking a CA to cross-sign the public key for the certificate we just generated ourselves, never sending the private key to anyone else. In this case the CA is under our control and its key is actually sitting next to the server key, but it may not always be the case.
To cross-sign the key, we’ll need to create a file with this content
(I’ll call it extfile.cnf just like the docs do)
subjectAltName = DNS:localhost
extendedKeyUsage = serverAuth
And now generate the certificate
openssl x509 -req -days 365 -sha256 -in server.csr\
  -CA ca.pem -CAkey ca-key.pem \
  -CAcreateserial -out server-cert.pem \
  -extfile extfile.cnf
The Client
The last piece of the puzzle is the certificate we’ll use to authenticate the Windows-side CLI, the client.
For simplicity we’ll perform this step on WSL too and then copy all the required files over to Windows.
The process is similar to the previous two, first we generate a key
openssl genrsa -out client-key.pem 4096
Then generate a CSR
openssl req -subj '/CN=client' -new -key client-key.pem -out client.csr
Then create the configuration file (extfile-client.cnf)
extendedKeyUsage = clientAuth
Last step, generate and sign the certificate itself
openssl x509 -req -days 365 -sha256 -in client.csr -CA ca.pem \
  -CAkey ca-key.pem -CAcreateserial -out client-cert.pem \
  -extfile extfile-client.cnf
Cleanup
Now that we have our keys and certificates for CA, daemon and CLI we can delete the configuration and CSR files
rm extfile.cnf extfile-client.cnf client.csr server.csr
To protect the private keys, we’ll need to change their permissions
chmod 0400 ca-key.pem client-key.pem server-key.pem
And then update the public keys to be world-readable
chmod 0444 ca.pem server-cert.pem client-cert.pem
Configure Docker Engine to use HTTPS with TLS
This step is different whether you use Systemd to manage the engine or not.
If not, the only difference from just launching dockerd is that you’ll need
to pass a few args with the paths of the certs.
In my case I moved certs and keys to /opt/docker-certs for convenience.
sudo dockerd \
  --tlsverify \
  --tlscacert=/opt/docker-certs/ca.pem \
  --tlscert=/opt/docker-certs/server-cert.pem \
  --tlskey=/opt/docker-certs/server-key.pem \
  -H=0.0.0.0:2376 \
  -H=unix///var/run/docker.sock
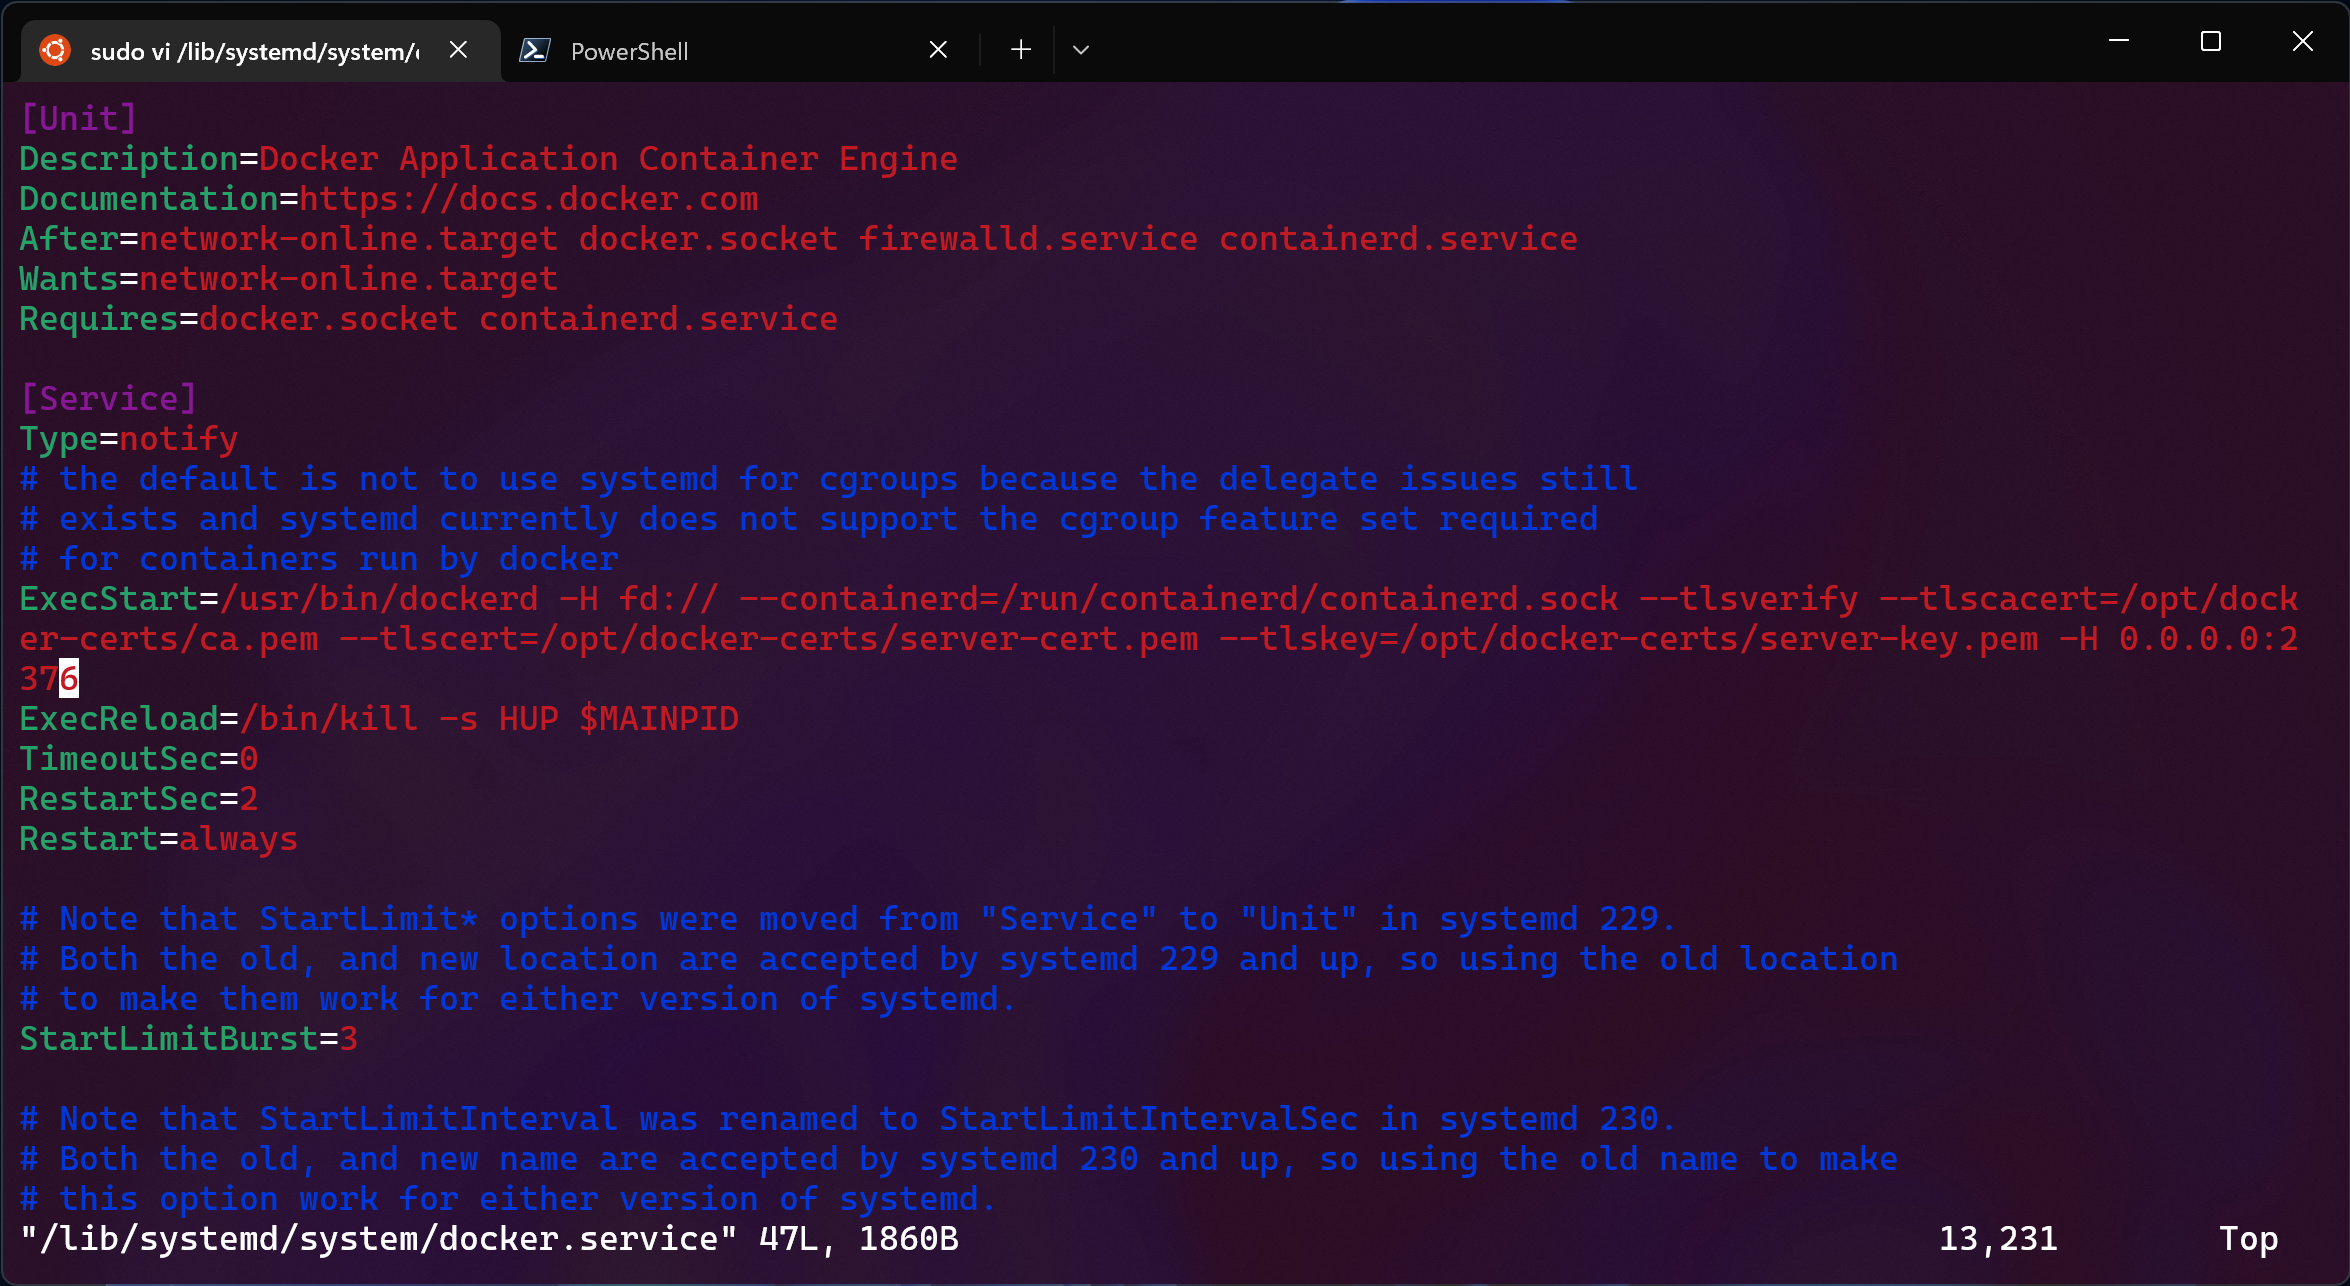
With systemd we’ll need to edit its unit which is usually located at
/lib/systemd/system/docker.service and add the same arguments to the
ExecStart line.
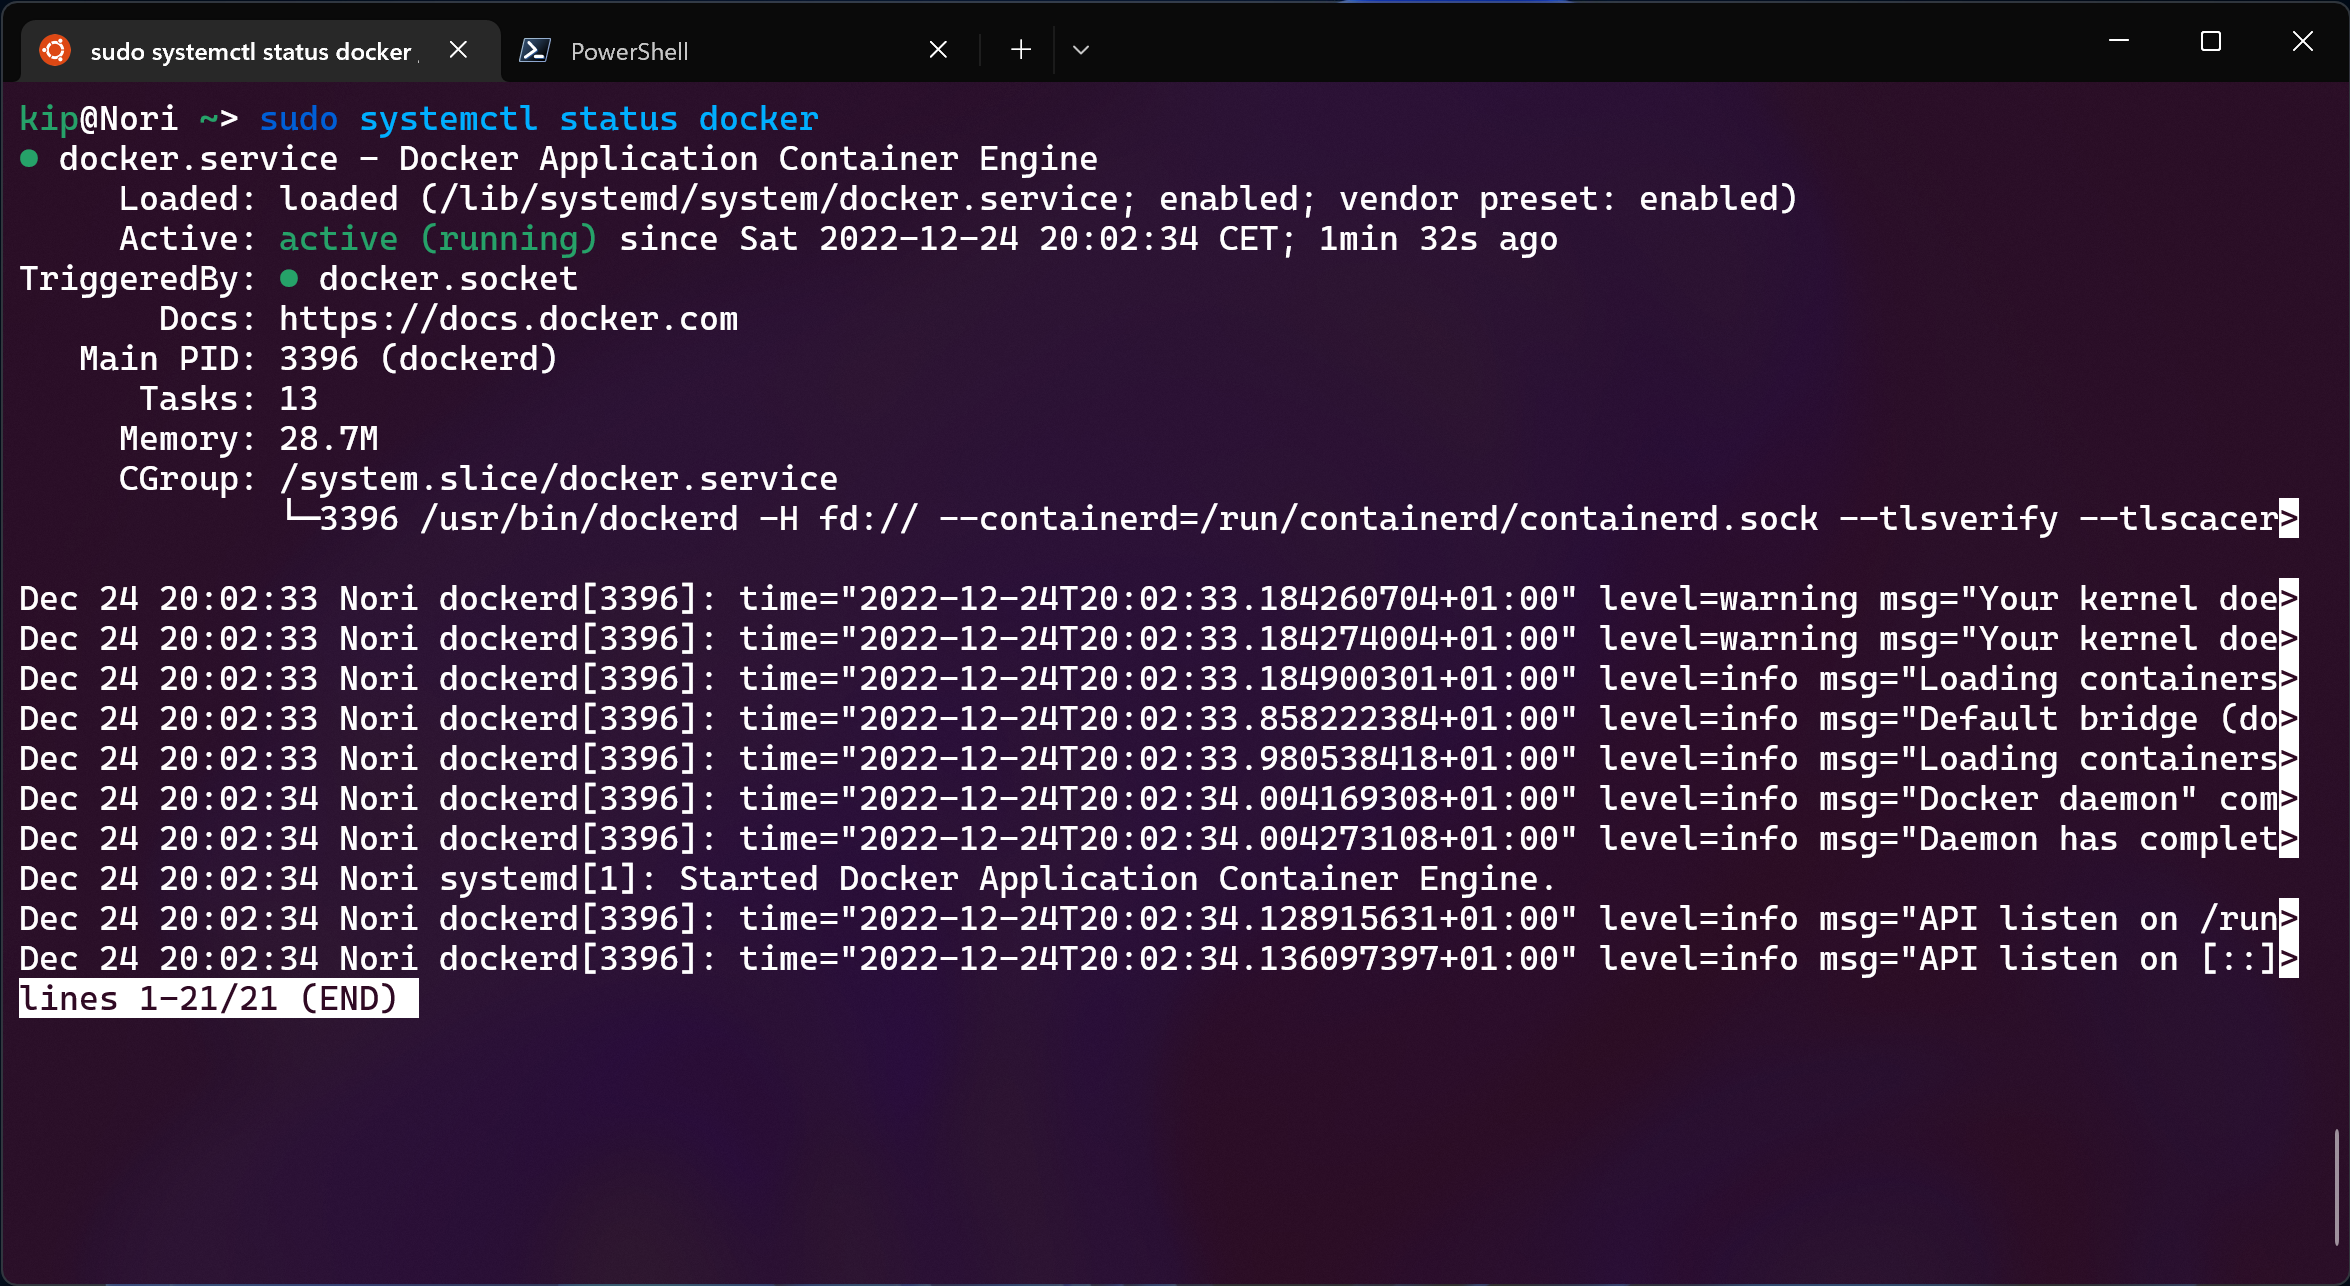
run systemctl daemon-reload to reload the unit file,
systemctl restart docker to restart the service and voila, the daemon will be
running with the new settings.
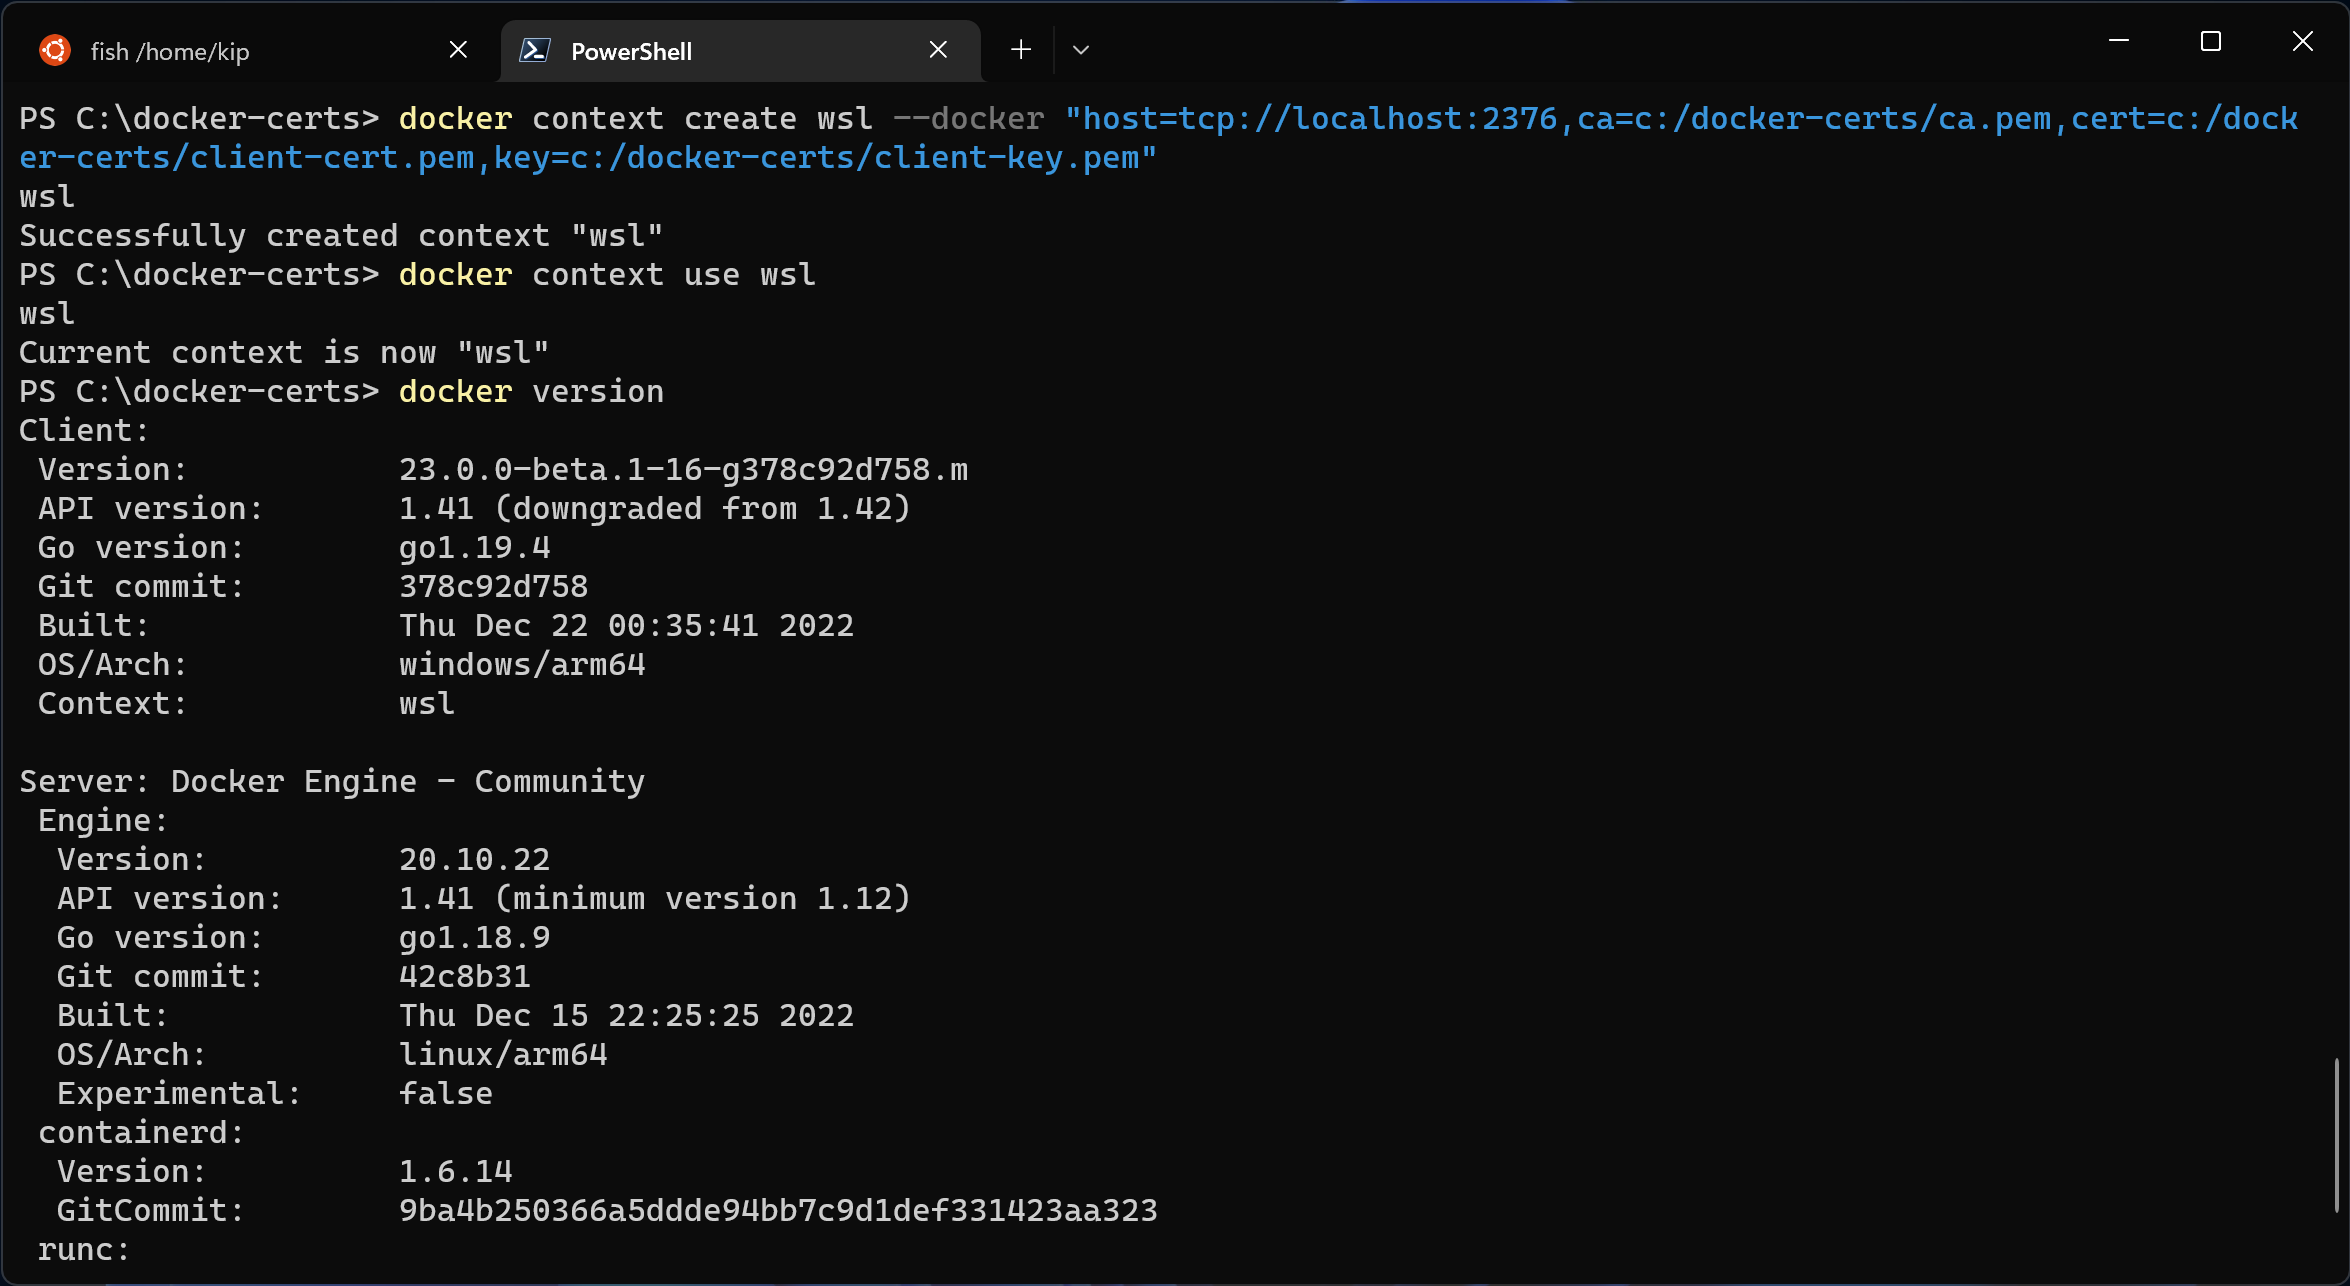
Configure a Docker Context on the Windows Side
Now it’s time to setup the last part, the Windows-side CLI.
First of all, we’ll need to copy the CA certificate, the client certificate and the client key over to the Windows filesystem. This is easy with the interop feature in WSL
mkdir /mnt/c/docker-certs
cp ca.pem /mnt/c/docker-certs
cp client-cert.pem /mnt/c/docker-certs
cp client-key.pem /mnt/c/docker-certs
Create the context
docker context create wsl --docker "host=tcp://localhost:2376,ca=c:/docker-certs/ca.pem,cert=c:/docker-certs/client-cert.pem,key=c:/docker-certs/client-key.pem"
and finally enable it
docker context use wsl
And we’re done!